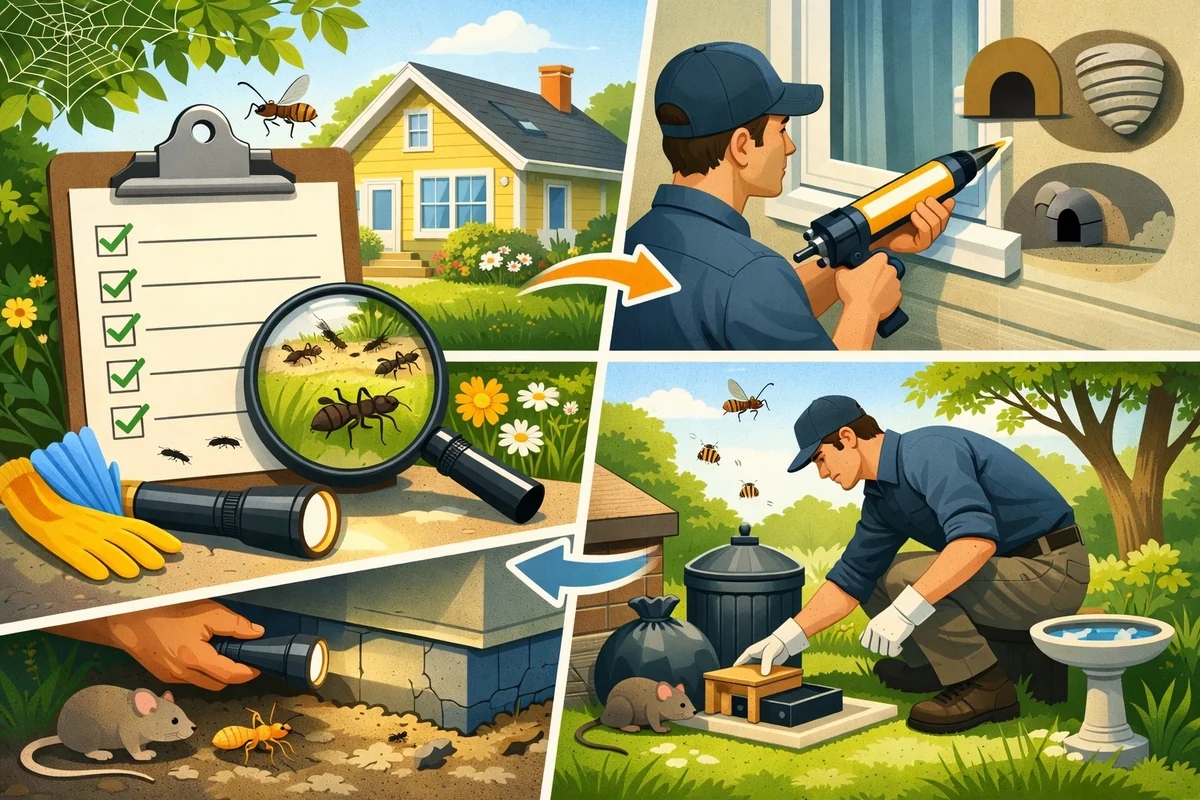

How to Prepare for Spring Pest Control: Step-by-Step Guide for 2026
Learn how to prepare for spring pest control in 2026 with expert spring pest prevention tips and actionable spring cleaning pest advice. Protect your home with easy DIY steps for a pest-free season.
To prepare for spring pest control, start by inspecting your home for signs of pests, seal all entry points, and remove clutter that attracts infestations. Apply targeted baits and barriers early for the best results. Expect 2-4 hours of work for most homes - thorough prep now prevents bigger issues in summer.
Why Spring Pest Control Matters Most
Spring is the make-or-break season for pest prevention. As temperatures rise, insect and rodent activity spikes, pushing pests to invade homes in search of food, water, and safe nesting sites. If you ignore early warning signs, small problems in March or April can explode into serious infestations by June.
Moist conditions - think spring rains or melting snow - only make things worse. Insects like ants and termites thrive in damp environments, while rodents chase warmth and shelter as their outdoor food sources dwindle. Spring cleaning helps, but it doesn’t reach hidden nests or block those tiny gaps pests use to get inside.
Seasonal Pest Activity Spikes
Most household pests ‘wake up’ as soon as the ground thaws. Ants, termites, and spiders start foraging, and rodents left unchecked after winter can multiply fast. Early intervention is your best shot at keeping colonies from establishing in walls, attics, or basements.
Delaying action until you see visible trails or swarms means you’re already behind. By then, pests may have bred for weeks - turning a quick fix into a months-long headache. For a deeper look at why timing matters, see our Spring & Fall Pest Control overview.
Spring Conditions Favor Pest Survival
Rainy weather and warmer days kick pest breeding into high gear. Even well-sealed homes can end up with moisture issues: leaks under the sink, condensation in basements, or puddles around foundations. These create perfect conditions for insects and rodents to flourish indoors.
Spring cleaning is a great start, but it rarely targets the cracks, utility gaps, and hidden corners where pests actually sneak in. That’s why a focused, preventative approach is essential as the season begins.
Common Spring Pests and Their Entry Points
Knowing which pests to expect - and how they get inside - is half the battle. In our experience, most spring problems start with unnoticed entry points rather than sudden outbreaks. Here’s what to watch for as you prepare for spring pest control.
Top Invaders: Ants, Termites, Rodents, and More
Ants and termites are notorious for swarming in spring, sending out reproductive “swarmers” to find new nesting spots. Kitchens, bathrooms, and basements are prime real estate for these invaders. Rodents often exploit damaged weatherstripping or new cracks left by winter’s freeze-thaw cycle - if you find droppings or gnaw marks, they’ve already settled in.
Other spring-active pests include spiders, silverfish, and cockroaches. These often emerge from dormancy or hidden places as the house warms up. If you see one, assume there are more hiding nearby.
How Pests Get Inside: Gaps, Cracks, and Utility Lines
Foundations naturally shift and crack over time, creating new gaps each year. Door sweeps wear down, window screens tear, and utility penetrations (where cables, pipes, or vents enter) are rarely sealed as tightly as they should be. Spring storms can even widen existing cracks, making it even easier for pests to slip inside.
The smallest openings - sometimes just 1/4 inch wide - are all rodents or ants need. Don’t overlook attic vents, crawl spaces, or gaps in siding; these are favorite access points for pests. If you want a detailed product breakdown, our Best Pest Control Products for Spring 2026 guide covers recommended solutions for each scenario.
Essential Tools and Supplies for DIY Pest Control
Choosing the right products and tools is just as important as timing. The best pest control results come from combining baits, traps, and physical barriers - each targets a different part of the problem. Here’s what works and why.
Choosing Effective Baits, Traps, and Barriers
- Gel baits: Best for ants and cockroaches. The slow-acting poison lets them bring it back to the nest, wiping out entire colonies instead of just killing visible foragers.
- Snap and live traps: Go-to for rodents. These provide results within hours if placed along known travel paths (baseboards, behind appliances). Monitor and reset as needed for several days.
- Physical barriers: Door sweeps, weatherstripping, and steel wool block entry without chemicals. These need precise fitting and regular checks - one loose edge defeats the purpose.
Protective Gear and Safety Considerations
Always wear gloves and a mask when applying baits, sprays, or cleaning up pest droppings - many pests and chemicals can trigger allergies or asthma. Goggles aren’t overkill if you’re spraying overhead or in tight spaces.
Most over-the-counter pesticides sold for home use are safe if you follow the label. Problems happen when people mix products, ignore reapplication intervals, or use more than recommended. Stick with one product per area and give it time to work.
Natural vs Chemical Solutions: What Works Best?
Diatomaceous earth (food grade) and borax are effective low-toxicity options for many insects. They work by damaging the insect’s exoskeleton or disrupting digestion. Essential oil sprays - peppermint, cedar, or clove - smell nice and can repel some pests, but don’t expect long-lasting results indoors.
Chemical sprays and baits provide faster knockdown, but they rarely reach hidden nests. Natural options need more frequent reapplication, but are safer for kids and pets if used correctly. For most spring infestations, a mix of barriers, baits, and spot treatments is the most reliable strategy.
Step-by-Step Guide: Preparing Your Home for Spring Pest Control
Tackling pests before they take over means following a system: inspect, seal, clean, and treat. Skip a step, and you’ll be fighting re-infestations all season. Here’s a proven workflow for spring prep.
Step-by-Step Guide
Follow these expert-backed steps to prepare your home and yard for effective spring pest control. This guide covers inspection, cleaning, sealing, and scheduling treatments using modern best practices.
Total Time
2 hours 20 minutes
Difficulty
Beginner
Inspect Your Property Thoroughly
Walk around your home and yard to identify common pest entry points and signs of activity. Focus on window frames, door seals, vents, and foundation cracks. Early detection allows for targeted prevention and reduces infestation risks.
Pro Tips:
- Check for droppings, nests, or chewed materials near baseboards and corners.
- Use a flashlight for darker areas like crawl spaces and under decks.
- Document findings with photos to compare after treatment.
Important Warnings:
- Avoid disturbing any large nests or hives—contact professionals for removal to prevent injury.
Required Tools:
- Bright flashlight
- Notebook or camera for documentation
- Protective gloves
Declutter and Clean Key Areas
Remove clutter from basements, garages, and storage areas. Vacuum floors and wipe down surfaces to eliminate crumbs and debris that attract pests. Clean surroundings make pest hiding spots less accessible and support more effective control.
Pro Tips:
- Dispose of cardboard boxes, as they attract insects like silverfish and roaches.
- Regularly empty indoor trash bins and clean lids.
- Store seasonal items in sealed plastic containers.
Important Warnings:
- Do not use strong chemical cleaners near food storage areas unless labeled safe for kitchens.
Required Tools:
- Vacuum cleaner with crevice tool
- All-purpose cleaner
- Sealable storage bins
Seal Entry Points and Repair Screens
Seal cracks and gaps around doors, windows, and utility openings using weatherproof caulk or foam. Repair or replace damaged window and door screens to block insect entry. Proper sealing is recognized as an industry standard for long-term pest prevention.
Pro Tips:
- Use silicone-based caulk for outdoor applications—it remains flexible in temperature changes.
- Inspect dryer vents and attic vents for gaps or torn mesh.
- Focus on gaps larger than 1/8 inch, as ants and spiders can enter through tiny spaces.
Important Warnings:
- Avoid sealing active pest holes until you confirm no animals are trapped inside.
- Wear gloves when handling old or damaged screen material to prevent cuts.
Required Tools:
- Weatherproof caulk
- Caulking gun
- Replacement screen mesh and spline roller
- Utility knife
Remove Outdoor Attractants and Trim Vegetation
Clear away leaves, mulch, and debris from foundation walls. Trim back tree branches and shrubs at least 12 inches from the house. This reduces shelter and bridges for pests like ants, rodents, and termites.
Pro Tips:
- Store firewood at least 20 feet away from exterior walls.
- Clean gutters to prevent standing water—a mosquito breeding ground.
- Keep grass mowed below 3 inches for fewer hiding spots.
Important Warnings:
- Check for signs of wasp or bee nests before trimming shrubs.
Required Tools:
- Pruning shears
- Rake
- Lawn bags or compostable waste bags
Schedule Professional Pest Treatment or Apply DIY Solutions
Book a licensed pest control service or apply EPA-approved DIY treatments in high-risk areas. Follow product instructions carefully for safety and effectiveness. Timely application in early spring prevents major infestations as temperatures rise.
Pro Tips:
- Compare quotes from at least two licensed companies for best value.
- Apply perimeter sprays on dry days for optimal adhesion.
- Retreat as directed, usually every 60-90 days for ongoing protection.
Important Warnings:
- Only use pesticides labeled for residential use and keep children and pets away until treated areas are dry.
- For severe or recurring infestations, seek professional assessment—DIY methods may be insufficient.
Required Tools:
- EPA-approved pest spray or bait stations
- Protective gloves and mask
- Phone or computer for booking services
Inspecting for Signs of Infestation
Start in kitchens, bathrooms, basements, and attics - these are the top hotspots. Look for droppings, shed wings, gnaw marks, and grease trails along baseboards or behind appliances. Use a flashlight and mirror to check under sinks, around pipes, and in dark corners.
Pay attention to window sills, door frames, and behind stored items. Even a few dead insects or tiny specks can signal a hidden nest nearby. Take notes on where you find evidence to guide your next steps.
Sealing Entry Points and Reducing Attractants
Once you’ve identified possible entry routes, seal them with caulk, expanding foam, or steel wool (for rodents). Don’t forget to check around utility lines and under sinks - these are often missed. Install new door sweeps, fix or replace torn screens, and weatherstrip windows to keep insects and rodents out.
Eliminate standing water - empty trays, unclog drains, and fix any leaks. Store all food (including pet food) in airtight containers. Regularly empty garbage and compost; these are major pest attractants in spring.
Decluttering and Deep Cleaning for Prevention
Clutter is a pest’s best friend. Remove cardboard boxes, stacks of newspaper, and unused items from closets, basements, and garages. Vacuum behind and under appliances to clear out crumbs and pest eggs.
Wash pet bedding and clean drains. Even rarely used sinks can attract drain flies in spring. Don’t skip these areas - one missed spot can undo all your other efforts.
Applying Treatments: When and How for Best Results
Timing and placement make or break a spring pest control effort. The goal is to treat before pests are highly active, targeting the places they’re most likely to enter or nest. Here’s how to get the best outcome.
Timing Your Application for Maximum Impact
Apply baits, sprays, and traps in early spring, ideally after deep cleaning but before you see heavy pest traffic. This gives products time to work before colonies expand. Outdoor treatments should be scheduled for dry, calm days - rain and wind dilute sprays and wash away barriers.
Indoors, avoid treating areas you’ll need to clean right away. Let baits and barriers sit undisturbed for at least 48 hours for full effect.
Indoors vs Outdoors: Targeting the Right Areas
Focus indoor treatments on kitchens, bathrooms, laundry rooms, and entryways. These spots attract pests looking for water or food. Place gel baits in cracks and behind appliances - where insects travel but pets can’t reach.
For outdoor control, apply a perimeter spray around the home’s foundation, entry doors, and windows. Don’t over-apply; targeted sprays protect against invaders without harming pollinators or beneficial insects.
How to Monitor and Reapply Safely
Check traps and bait stations weekly. Replenish or reset as needed - activity may spike after rain or when temperatures change. Always follow reapplication intervals on product labels; more is not better, and overuse can reduce effectiveness.
Keep a simple log of treatment dates and locations. Tracking helps you spot stubborn hotspots and adjust your prevention plan for next year.
Common Mistakes to Avoid in Spring Pest Control
Even experienced DIYers make avoidable mistakes that undermine their efforts. Here’s where most go wrong - and how to steer clear.
Overlooking Hidden Entry Points
Attic vents, crawl spaces, and utility chases often escape notice during a quick inspection. Rodents and insects only need a 1/4 inch gap to get inside. Ignoring these areas guarantees pests will keep coming back, no matter how many traps you set.
Misusing or Overusing Pesticides
Spraying too much product too often can cause pests to scatter and avoid the treated areas. Mixing different sprays or using incompatible products can create chemical hazards and reduce both products’ effectiveness.
Always read and follow label directions. Not only does this keep you safe, but it ensures the product actually works as intended.
Neglecting Follow-Up and Maintenance
Skipping weekly checks and reapplications is a recipe for reinfestation. Pests are persistent and will return if you leave gaps in your defense. One treatment rarely eliminates a problem for good - especially after rain, cleaning, or heavy activity.
Assume you’ll need to monitor, reapply, and adjust your approach throughout spring and summer. That’s normal - and far easier than dealing with a full-blown infestation.
Expert Tips for Long-Term Spring Pest Prevention
Pest control isn’t a one-time spring event - it’s a year-round process. The best prevention combines outdoor maintenance, regular inspections, and quick action when you spot signs of trouble.
Landscaping and Outdoor Maintenance
- Keep plants, shrubs, and mulch at least 18 inches from your home’s exterior to prevent pest “bridges.”
- Store firewood, compost, and debris away from foundations and walls - these attract termites, rodents, and insects.
- Grade soil to direct water away from the house. Dry foundations are less appealing to pests like ants and termites.
Routine Inspection Schedule
- Inspect your home monthly in spring and summer. Look for new cracks, droppings, or activity near doors and windows.
- Schedule seasonal maintenance - clean gutters, check attic and crawl space vents, and remove debris from around the home.
- Use a written checklist to ensure you don’t miss high-risk areas year after year.
Frequently Asked Questions About Spring Pest Control
❓ Frequently Asked Questions
What is spring pest control?
What is spring pest control?
Spring pest control is a seasonal approach to managing and preventing common pests as temperatures rise. It helps reduce infestations by targeting pests before they become active. For example, treating entry points early can prevent ants, spiders, and termites from invading your home.
How do I prepare my home for spring pest control?
How do I prepare my home for spring pest control?
To prepare your home for spring pest control:
- Seal cracks and gaps around windows, doors, and foundations
- Remove clutter, leaves, and debris near your home's exterior
- Store food in airtight containers and address moisture issues
- Trim back vegetation touching your home
- Schedule a professional inspection if needed
A clean, sealed environment reduces pest entry points.
When is the best time to schedule spring pest control services?
When is the best time to schedule spring pest control services?
The ideal time to schedule spring pest control is early in the season, typically between late March and early May, before pests become highly active. Early treatment targets pests as they emerge from winter dormancy, maximizing effectiveness. However, timing may vary by climate, so consult local professionals for precise recommendations.
What are the most common spring pests to watch for?
What are the most common spring pests to watch for?
Common spring pests include ants, termites, spiders, wasps, and rodents. Ants often enter homes searching for food, while termites become active and may swarm. Spiders and wasps are drawn to sheltered areas. Monitoring for these pests early can help prevent larger infestations.
How often should I perform pest control treatments in spring?
How often should I perform pest control treatments in spring?
Most experts recommend a professional pest control treatment at the start of spring, with follow-up inspections every 2-3 months. High-risk areas or severe infestations may require more frequent applications. Regular monitoring and preventive steps between treatments are key to effective pest management.
What should I look for when choosing a pest control service?
What should I look for when choosing a pest control service?
When selecting a pest control service, consider these key factors:
- Licensing and certifications: ensures compliance with safety standards
- Experience: look for providers with strong local track records
- Treatment methods: preference for low-toxicity options
- Customer reviews: prioritize verified feedback
- Guarantees: clear service warranties
Get quotes from at least three providers and compare service details.
Why is preventative pest control important in spring?
Why is preventative pest control important in spring?
Preventative pest control in spring targets pests before they establish nests or colonies, reducing the risk of infestations. Early action decreases long-term pest damage and lowers the need for intensive chemical treatments. This approach is especially effective for ants, termites, and rodents emerging after winter.
Are DIY pest control products effective for spring pests?
Are DIY pest control products effective for spring pests?
DIY pest control products can help manage minor spring pest issues, such as ants or spiders, when used correctly. However, they often provide only temporary relief and may not address hidden infestations or structural pests like termites. For persistent or large-scale problems, professional intervention is recommended.
Key Takeaways for Successful Spring Pest Control
Effective spring pest control is about timing, thoroughness, and ongoing vigilance. Start early, seal every gap, and use a mix of baits, traps, and barriers for the best chance at a pest-free season. Don’t wait until you see signs - by then, you’re playing catch-up.
If you’re facing a large or persistent infestation - especially termites, bed bugs, or stinging insects - call a professional. DIY approaches work well for prevention and small problems, but some pests pose health or structural risks that need expert help.
Keep records, monitor regularly, and combine multiple strategies. Consistent effort each spring pays off with fewer problems and less stress all year. For more seasonal advice, revisit this guide before next spring cleaning.
Related Articles
Best Pest Control Products for Spring 2026: Top Ant, Roach & Insect Solutions
Discover the best pest control products for spring 2026. Compare top ant baits, sprays, traps, and eco-friendly options to tackle infestations safely and effectively - without hiring an exterminator.
Complete Guide to Pest Prevention in Homes: Stop Pests in 2026
Protect your home in 2026 with this complete pest prevention guide. Discover proven DIY methods, room-by-room tips, safe solutions for families, and expert advice to stop pests before they start.
Best Natural and Organic Pest Control Products 2026: Safe, Eco-Friendly Solutions for Every Home
Find the best natural and organic pest control products for 2026. Safe, eco-friendly solutions for ants, roaches, rodents, and more - ideal for families and pet owners.
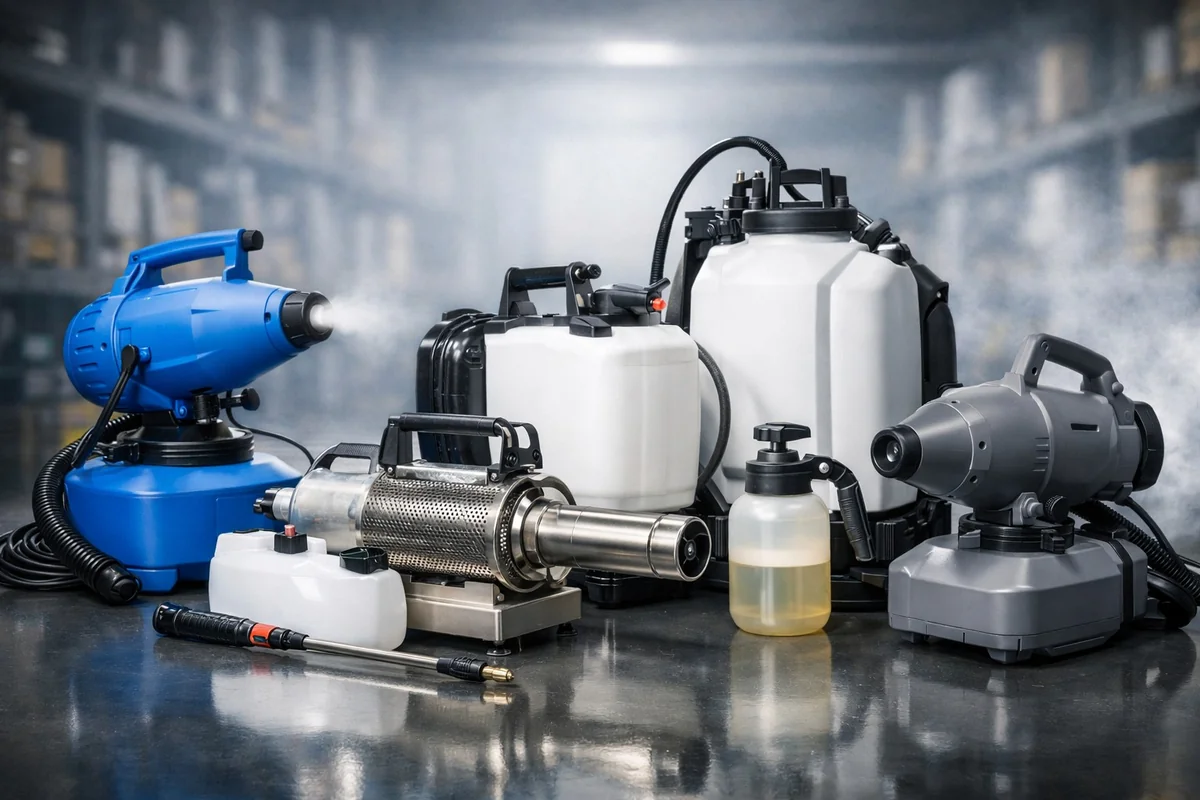
Best Pest Control Sprayers and Foggers 2026: Reviews & Buying Guide
Looking for the best pest control sprayers and foggers in 2026? Compare top-rated products, see real user reviews, and learn how to choose the right tool for your home pest problem - without hiring an exterminator.