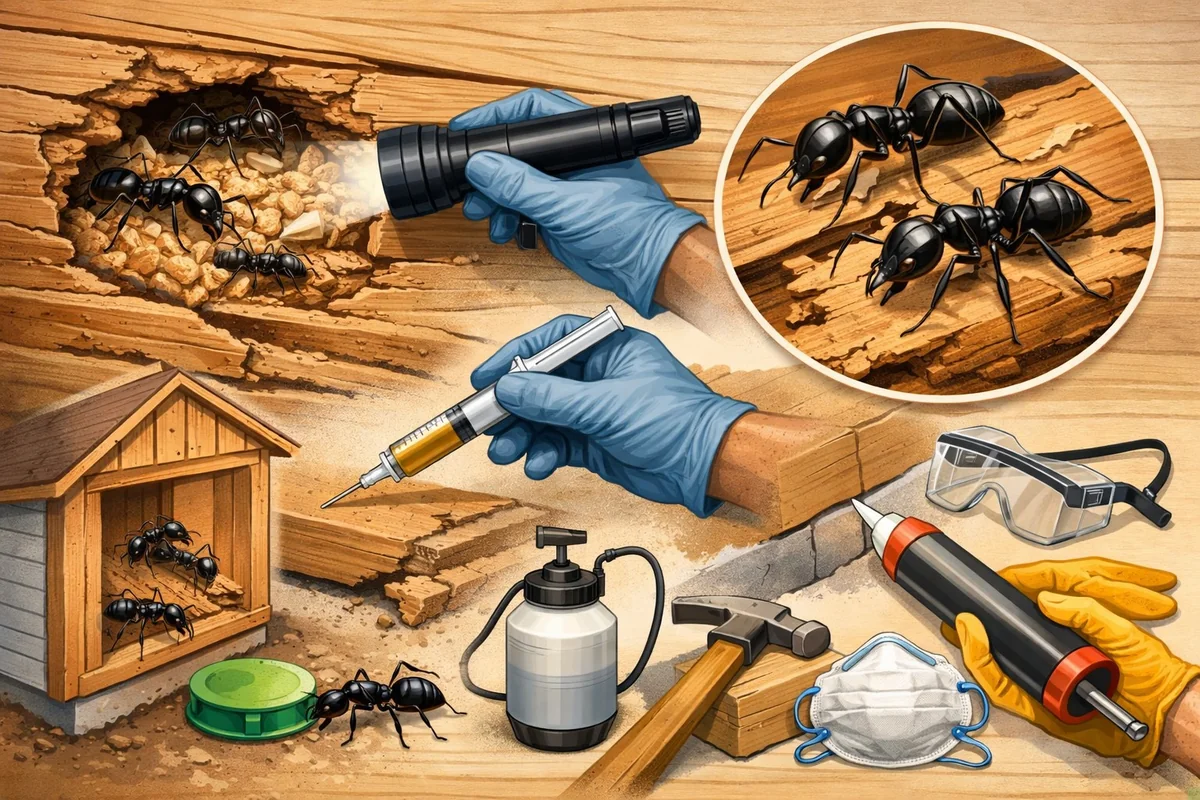

How to Get Rid of Carpenter Ants in Wood Structures: Step-by-Step DIY Guide (2026)
Learn how to get rid of carpenter ants in wood structures with this expert 2026 DIY guide. Step-by-step removal, tool recommendations, safety tips, and prevention strategies for homeowners and renters.
To get rid of carpenter ants in wood structures, locate nests by following worker trails at night, apply slow-acting baits near ant activity, and inject boric acid or diatomaceous earth into wall voids. Most infestations take 2–6 weeks to fully eliminate. Repair water-damaged wood and seal entry points for long-term control.
How Carpenter Ants Damage Wood Structures
Carpenter ants are a top cause of wood damage in homes, especially where moisture is present. Unlike termites, they don't eat wood for nutrition - they tunnel and excavate it to create sprawling nests. The result?
Hidden galleries that can weaken beams, joists, and window frames over time.
Carpenter Ant Behavior and Nesting Habits
Carpenter ants carve out smooth tunnels in wood to build their nests. This is strictly for shelter, not food - termite damage is often confused with ant galleries, but termites digest wood, while ants just hollow it out.
What makes carpenter ants stubborn is their use of satellite nests. You might kill the ants in one wall, but another colony could be thriving in a different beam or a window frame. This decentralized nesting means you need to target the whole network, not just a single spot.
They almost always target moist, decaying, or water-damaged wood. If your home has a leaky roof, damp basement, or rotten windowsills, you’re at higher risk for infestation.
Signs of Carpenter Ant Infestation
Watch for sawdust-like frass piles - these are bits of wood and ant body parts kicked out from galleries. You might also hear faint rustling inside walls, especially at night when the colony is most active.
Winged swarmers (reproductive ants) inside your home mean trouble. Their presence signals a mature colony that's ready to expand. If you open up damaged wood, carpenter ant tunnels look smooth and clean, unlike the mud-caked passages termites leave behind.
If you’re dealing with signs of multiple wood pests, or want a broader perspective, see our Carpenter Ant, Beetle & Wood Borer Control resource for related infestations and control strategies.
Essential Tools and Materials for Carpenter Ant Removal
Getting rid of carpenter ants in wood requires a mix of patience and the right materials. Success comes down to using slow-acting baits, targeted insecticides, and proper inspection tools to find hidden nests. Most people who fail either use the wrong products or can’t locate the main colony.
Choosing Effective Ant Baits and Insecticides
Boric acid and hydramethylnon-based baits are the standouts here. They’re slow-acting, which is exactly what you want - workers have time to bring the poison back to the queen and brood, wiping out the whole colony.
Gel and liquid baits outperform sprays indoors. Sprays kill ants on contact, but rarely reach the nest. With baits, you’re playing the long game: 1–2 weeks for noticeable results is typical, but the payoff is colony elimination, not just a quick knockdown.
Sprays do have their place for killing visible ants instantly, but don’t rely on them for long-term control. Overuse can actually cause the colony to split and become even harder to remove.
Inspection Tools for Locating Nests
Moisture meters and stud finders are underrated tools for this job. Carpenter ants love damp wood, so these devices help you zero in on likely nest spots hidden inside walls or beams. Flashlights and a simple screwdriver or awl help you probe for frass piles and hollow-sounding wood - classic signs of internal galleries.
The catch: not all nests are accessible. If the colony is deep inside insulation or structural supports, you may hit a wall (literally) and need professional-grade tools to reach them.
To compare the top-rated products and see which baits and dusts work best for wood-infesting ants, check our Best Carpenter Ant and Wood Borer Treatments 2026 guide.
| Method | ★Difficulty Level | ★Time Required | Cost Range | ★Best For | Effectiveness |
|---|---|---|---|---|---|
| Bait and Gel Application | Easy | 2-3 hours (initial setup), monitor for 1-2 weeks | Budget-friendly | Small or isolated infestations; homeowners without advanced tools | Moderate |
| Direct Insecticide Dusting | Medium | 3-4 hours (including locating nests) | Moderate | Visible nests in accessible framing; users with some DIY experience | High |
| Non-Chemical Removal (Manual Extraction) | Hard | 6-10 hours (may require multiple sessions) | Premium (if structural repairs needed) | Severe infestations with structural damage; advanced DIYers comfortable with carpentry | Very High |
| Barrier and Exclusion Techniques | Medium | 4-6 hours (depends on structure size) | Moderate | Preventive treatment or recurring problems; standard for long-term protection | High (for prevention, moderate for active infestations) |
Step-by-Step Guide to Eliminating Carpenter Ants
Carpenter ant removal is all about methodical steps: locate every nest, apply baits and dusts where they’ll reach the queen, and monitor until activity drops off. Rushing or skipping steps is the #1 reason infestations bounce back.
Step-by-Step Guide
Follow this step-by-step guide to safely and effectively remove carpenter ants from wood structures using proven, modern pest control techniques. Each step includes practical tips and warnings for best results.
Total Time
1 hour 10 minutes (plus 2-3 weeks of monitoring)
Difficulty
Intermediate
Inspect and Locate Nests
Inspect the wood structure thoroughly to find carpenter ant nests. Look for small piles of wood shavings (frass), rustling sounds within walls, and visible ant trails - these indicate nest sites. Accurate nest location ensures targeted treatment and prevents recurrence.
Pro Tips:
- Use a flashlight to check dark corners and crevices.
- Tap wood surfaces; a hollow sound may indicate tunneling.
- Follow ant trails to trace their entry points and nesting areas.
Important Warnings:
- Do not disturb the nest before treatment—ants may relocate and become harder to eliminate.
Required Tools:
- Flashlight (LED, 100+ lumens)
- Screwdriver or awl for probing wood
- Gloves (nitrile or latex)
Seal Entry Points
Identify and seal cracks, gaps, and holes around the affected area with caulk or foam sealant. This prevents ants from re-entering and limits their movement. Ensure all access points larger than 1/8 inch are addressed for effective control.
Pro Tips:
- Focus on baseboards, window frames, and utility line openings.
- Remove any decaying wood or debris nearby.
- Check for gaps in siding, eaves, and vents.
Important Warnings:
- Do not seal all entry points before verifying nest access for treatment—always treat the nest first.
Required Tools:
- Silicone caulk or expanding foam
- Caulking gun
- Putty knife
Apply Targeted Ant Baits
Place professional-grade, slow-acting ant bait near nest entrances and along foraging trails. Use 2-3 small bait stations per nest site. Ants will carry bait back to the colony, ensuring widespread elimination within 7-10 days.
Pro Tips:
- Choose baits labeled for carpenter ants (e.g., borax-based or gel formulations).
- Replace bait every 2-3 days if consumed quickly.
- Avoid using spray insecticides near bait stations—these can repel ants and reduce bait effectiveness.
Important Warnings:
- Keep baits away from children and pets—place in tamper-resistant stations if needed.
Required Tools:
- Carpenter ant bait (gel or granular, EPA-registered)
- Disposable gloves
- Small bait stations
Treat Nest Directly (If Accessible)
Drill small holes (1/8 inch) into nest galleries if accessible, then inject a non-repellent insecticidal dust or foam according to label directions. This delivers active ingredients directly to the colony, greatly improving elimination rates.
Pro Tips:
- Use a hand duster or straw applicator for precision.
- Mark treated areas for follow-up inspection.
- Wear a respirator mask when applying dusts or aerosols.
Important Warnings:
- Always follow pesticide label instructions—overapplication may pose health risks.
- Avoid inhaling dust or fumes; ventilate area after treatment.
Required Tools:
- Non-repellent insecticidal dust or foam (e.g., diatomaceous earth, deltamethrin)
- Hand duster or aerosol applicator
- Respirator mask (N95 or better)
- Safety goggles
Monitor and Reinspect
Monitor the treated area for ant activity over the next 2-3 weeks. Reinspect weekly, looking for live ants, new frass, or other signs of infestation. Reapply bait or dust as needed until all activity ceases.
Pro Tips:
- Record inspection dates and findings for tracking progress.
- Vacuum up dead ants and debris to discourage scavengers.
- If ants persist after 3 weeks, consult a licensed pest professional.
Important Warnings:
- Do not skip follow-up inspections—missed activity may lead to reinfestation.
Required Tools:
- Flashlight
- Vacuum cleaner
- Inspection log or notebook
Locating the Main and Satellite Nests
Start by following worker ant trails after dark - activity peaks at night, and you can often trace their path to nest entry points. Use a flashlight and check along baseboards, window frames, and plumbing lines.
Listen closely for rustling noises in walls or ceilings. In quiet, dark conditions, large colonies produce a faint clicking or movement sound. If you hear this, you’re likely close to a nest.
If ants are nesting in deep, inaccessible spots (inside foam insulation or floor joists), your own tools might not cut it. In those cases, professional help is sometimes the only option to prevent further structural damage.
Applying Baits and Insecticides Effectively
Place baits directly along active trails and near suspected nest entrances. Don’t mix baits with other chemicals - clean the area first if you’ve sprayed recently, since residual insecticides can repel ants away from bait.
For direct nest targeting, dusts like diatomaceous earth or boric acid can be puffed into wall voids or drilled holes. This is especially effective if you can pinpoint the main nest location. Just don’t overdo it with sprays - too much repellent drives ants deeper or splits the colony, drawing out the process.
Monitoring and Reapplying Treatments
Check your bait stations and dust applications every 3–5 days. Replenish baits as needed - ant activity should show a steady decline, not vanish overnight. If ants avoid a bait, try a different formula (sweet vs. protein-based) or move it closer to their main trail.
Patience is key: full elimination may take several weeks for large or well-established colonies. Don’t stop treatments until you’ve seen zero ant activity for at least two weeks.
Comparing DIY Methods: Baits, Dusts, and Sprays
Not all ant control methods are created equal. Baits, dusts, and sprays each have a role, but their effectiveness depends on how and where you use them. Here’s what you need to know before you pick a method.
Bait Stations vs Direct Nest Treatments
Bait stations work by exploiting the ants’ social nature - workers collect the poison and deliver it to the queen and brood. This “trophic transfer” is why baits can eliminate the entire colony, but it takes time.
Direct nest treatments (dusts, foams) provide faster results if you have clear nest access. Injecting dust into a wall void can collapse a satellite nest within days. The catch?
If you miss a hidden satellite nest, the problem comes right back. Baits are slower but more likely to hit every colony node.
Natural Remedies: Pros and Cons
Diatomaceous earth and essential oil sprays (like clove or orange oil) offer low-toxicity alternatives. These are safer for homes with pets and kids, and they can help with minor infestations or as a supplement to traditional methods.
However, natural remedies are generally less effective against large, entrenched colonies. They may require more frequent reapplication and don’t always reach the queen. Still, they’re a solid choice if you’re sensitive to chemical insecticides or want to minimize risk.
Common Mistakes When Treating Carpenter Ants
Most failed DIY carpenter ant removal jobs come down to two things: overusing sprays and ignoring the root cause (moisture and structural damage). Here’s how to avoid these costly pitfalls.
Overusing Sprays and Repellents
Sprays are tempting because they kill ants on contact. But that’s the problem - they only kill what you see. The real colony stays hidden and unharmed, lulling you into a false sense of security.
Repellent sprays can actually make things worse by causing colony splitting, known as “budding.” This is when the queen and her brood relocate and establish new satellite nests, multiplying your problem. Stick with non-repellent baits and dusts for true colony elimination.
Ignoring Moisture and Structural Repairs
Failing to repair leaks or remove water-damaged wood is the fastest way to invite carpenter ants back. They need moisture to survive, and they seek out soft, rotting wood for easy tunneling.
Structural repairs - like replacing rotten sill plates or fixing roof leaks - are crucial for long-term prevention. Yes, these repairs can be costly and time-consuming, but skipping them undermines every other effort. Without fixing the root cause, ants will return year after year.
Safety Considerations for DIY Carpenter Ant Control
Treating carpenter ants in wood structures means working with chemicals, dusts, and sometimes drilling or cutting into building materials. Safety isn’t just about you - it’s about protecting everyone (and everything) that shares your home.
Safe Use of Chemical Insecticides Indoors
Always follow the product label instructions, especially with baits and dusts. Over-application or careless use can harm humans and pets. Good ventilation and basic PPE - gloves, dust masks, safety glasses - go a long way toward reducing risk during application.
Some dusts (like boric acid) shouldn’t be used in living spaces where they might become airborne. In those cases, safer application may mean giving up some treatment options or limiting where you place products.
Protecting Pets and Children During Treatment
Place baits and dusts in tamper-resistant stations or spots pets and kids can’t reach. If you have a curious dog or toddler, this is non-negotiable. Natural remedies like diatomaceous earth or essential oils are safer, but even they need to be kept out of reach and reapplied more often for best results.
Preventing Future Carpenter Ant Infestations
Getting rid of carpenter ants is half the battle. The other half is making sure they never return. That means addressing moisture, wood decay, and entry points so your home doesn’t become prime nesting territory again.
Eliminating Moisture and Wood Decay
Repair roof leaks, plumbing drips, and drainage issues right away. Even a small, unnoticed leak can keep wood damp enough for ants to move in. Replace or treat any wood that’s already water-damaged, especially in basements, crawlspaces, and around windows.
Some moisture sources are tough to fix completely (like high humidity in crawlspaces), but every improvement reduces your risk.
Sealing Entry Points and Structural Gaps
Use caulk, weatherstripping, and fine mesh to block ant access around doors, windows, and utility lines. Don’t forget cable and plumbing penetrations - ants love these routes.
Regularly walk the perimeter of your home, looking for new gaps or cracks. Sealing small openings is a low-cost, high-reward strategy for long-term pest prevention.
Frequently Asked Questions About Carpenter Ant Removal
❓ Frequently Asked Questions
What are carpenter ants and why are they a problem in wood structures?
What are carpenter ants and why are they a problem in wood structures?
Carpenter ants are large ants that excavate wood to build their nests, causing structural damage over time. They weaken wooden beams and supports, leading to costly repairs. For example, untreated infestations can compromise the integrity of decks, sheds, or homes, especially in humid climates.
How do I get rid of carpenter ants in wood structures?
How do I get rid of carpenter ants in wood structures?
To eliminate carpenter ants from wood structures:
- Locate nesting sites by following ant trails and inspecting wood for hollow sounds
- Remove any moisture sources and repair leaks
- Apply targeted insecticidal dust or foam into galleries
- Seal entry points and replace damaged wood
- Monitor for ongoing activity
Sealing cracks greatly reduces reinfestation risk.
What is the difference between carpenter ants and termites?
What is the difference between carpenter ants and termites?
Carpenter ants tunnel into wood to create nests but do not eat the wood, while termites feed on wood for food. Carpenter ants leave smooth galleries and sawdust-like debris, whereas termites create mud tubes and leave behind soil. Identifying the pest correctly is crucial for effective treatment.
What should I look for when choosing carpenter ant removal products?
What should I look for when choosing carpenter ant removal products?
When selecting carpenter ant removal products, consider:
- Active ingredient: boric acid or permethrin are effective for wood treatment
- Application method: dusts reach galleries better than sprays
- Residual effect: longer-lasting formulas provide ongoing protection
- Safety: check for EPA registration
Always follow label directions for best results.
How often should I inspect wood structures for carpenter ant activity?
How often should I inspect wood structures for carpenter ant activity?
Inspect wood structures for carpenter ant activity at least twice a year - ideally in spring and late summer. High-risk areas like basements, attics, and decks should be checked more frequently if moisture issues exist. Regular inspections help catch early signs before significant damage occurs.
When is the best time to treat for carpenter ants?
When is the best time to treat for carpenter ants?
The best time to treat for carpenter ants is early spring, when colonies become active after winter. Treating at this stage targets workers and queens before they expand nests. However, infestations found later should be addressed immediately to prevent further wood damage.
Why do carpenter ants keep returning after treatment?
Why do carpenter ants keep returning after treatment?
Carpenter ants may return if all nests and satellite colonies aren’t eliminated or if moisture problems persist. Incomplete treatments or unsealed entry points allow ants to reinfest. Addressing both the source of infestation and underlying moisture issues is essential for long-term control.
Which carpenter ant removal method is best for sensitive environments like homes with pets or children?
Which carpenter ant removal method is best for sensitive environments like homes with pets or children?
For homes with pets or children, use bait stations or boric acid-based dusts labeled for indoor use. These pose lower risks when applied in wall voids or inaccessible areas. Always follow safety instructions and avoid spraying broad-spectrum insecticides in living spaces.
Key Takeaways for DIY Carpenter Ant Removal
Carpenter ant infestations in wood structures require a patient, multi-step approach. Locating every nest, using slow-acting baits, and eliminating moisture sources are the pillars of long-term success. Don’t rely on sprays alone - focus on strategies that reach the queen and the whole colony.
Know when to call a professional. If you’re dealing with a large, inaccessible, or recurring infestation, expert intervention may be needed to prevent serious structural damage. Pros have tools and products that reach deep wall voids and can finish the job when DIY methods hit a dead end.
If you’re tackling a minor infestation, start with baits and diligent repairs. For stubborn or widespread problems, don’t hesitate to get help. And remember - long-term prevention is the real secret to keeping your home carpenter ant-free.
Related Articles
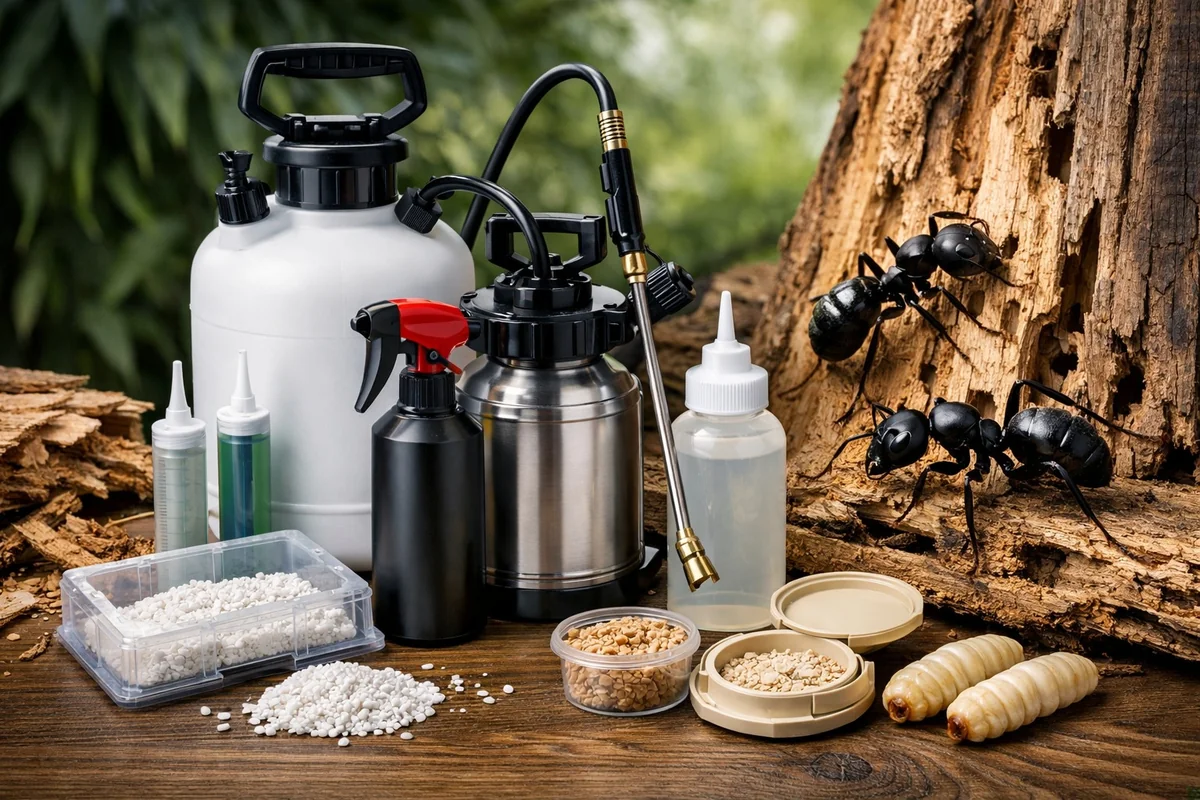
Best Carpenter Ant and Wood Borer Treatments 2026: Top Baits, Sprays, and Safe Solutions
Discover the best carpenter ant treatments and wood borer control products for 2026. Compare effective baits, sprays, natural solutions, and expert tips to eliminate pests and protect your home - DIY-friendly and budget-conscious.
![Best Protective Gear for Pest Control 2026 [Expert Reviews]](https://pestproreviews.com/images/hero/hero_best_protective_gear_for_pest_control_2026_expert.webp)
Best Protective Gear for Pest Control 2026 [Expert Reviews]
Protect yourself during DIY pest control in 2026 with our expert-reviewed guide to the best protective gear. Compare top-rated respirators, gloves, coveralls, and more for safe, effective pest removal at home.
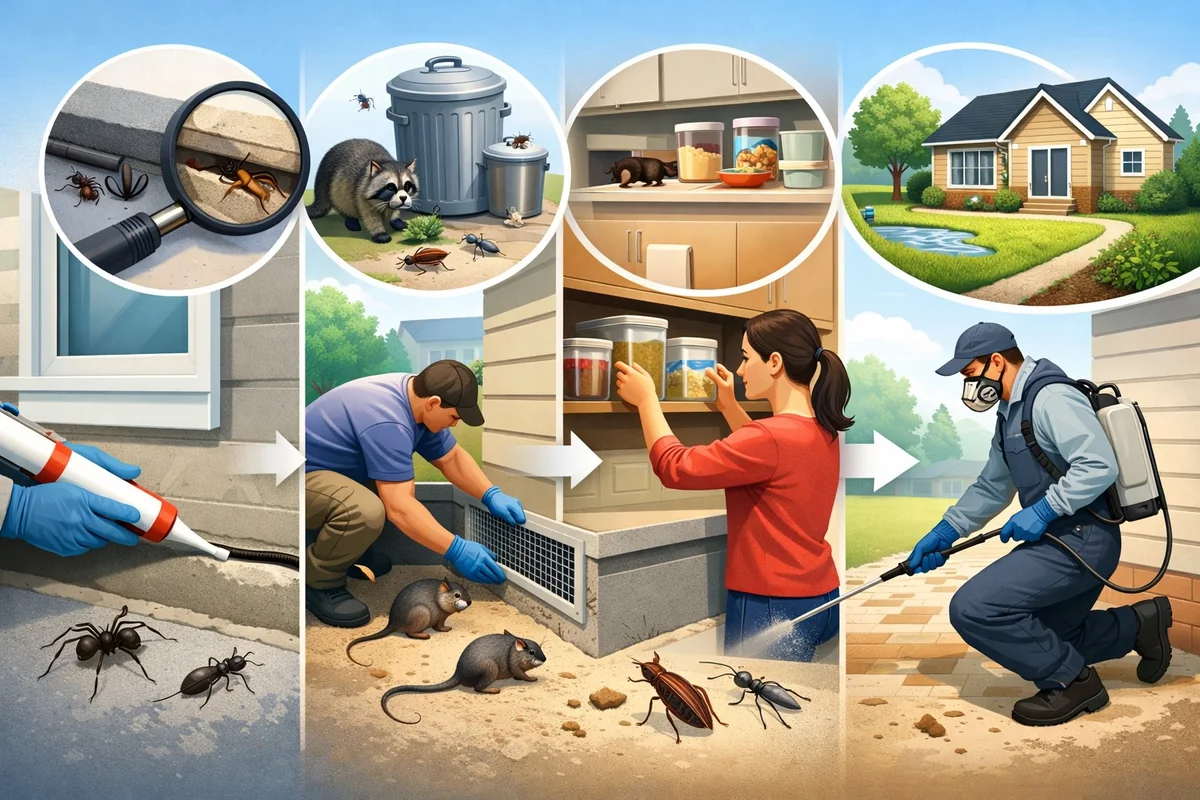
Complete Guide to Pest Prevention in Homes: Stop Pests in 2026
Protect your home in 2026 with this complete pest prevention guide. Discover proven DIY methods, room-by-room tips, safe solutions for families, and expert advice to stop pests before they start.
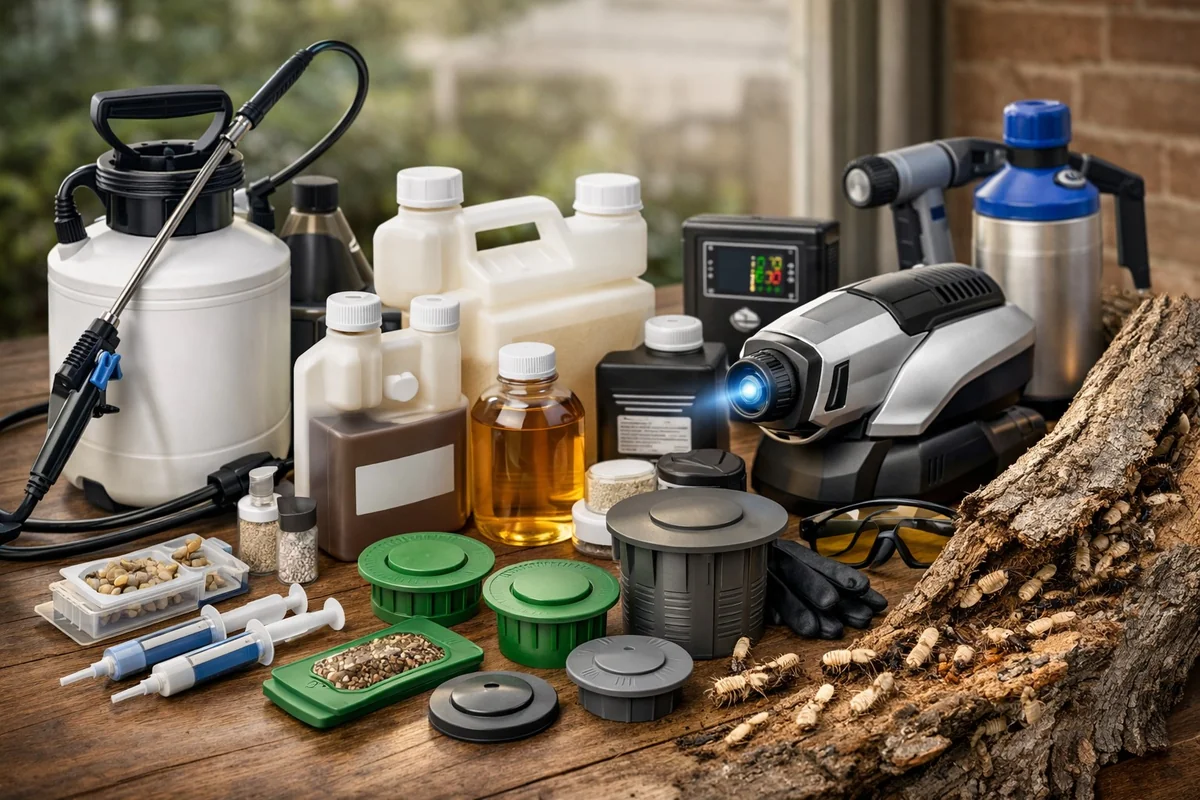
Best Termite Treatments and Baits 2026: Expert Picks for DIY Control
Best termite treatments and baits for 2026. Compare top-rated liquid barriers, bait stations, sprays, and natural solutions for effective DIY termite control.