
How to Get Rid of Termites: Step-by-Step Guide (2026)
Learn how to get rid of termites with this 2026 step-by-step termite removal guide. Discover proven DIY methods, essential tools, cost comparisons, and expert tips to eliminate termites and prevent future infestations - no professional needed.
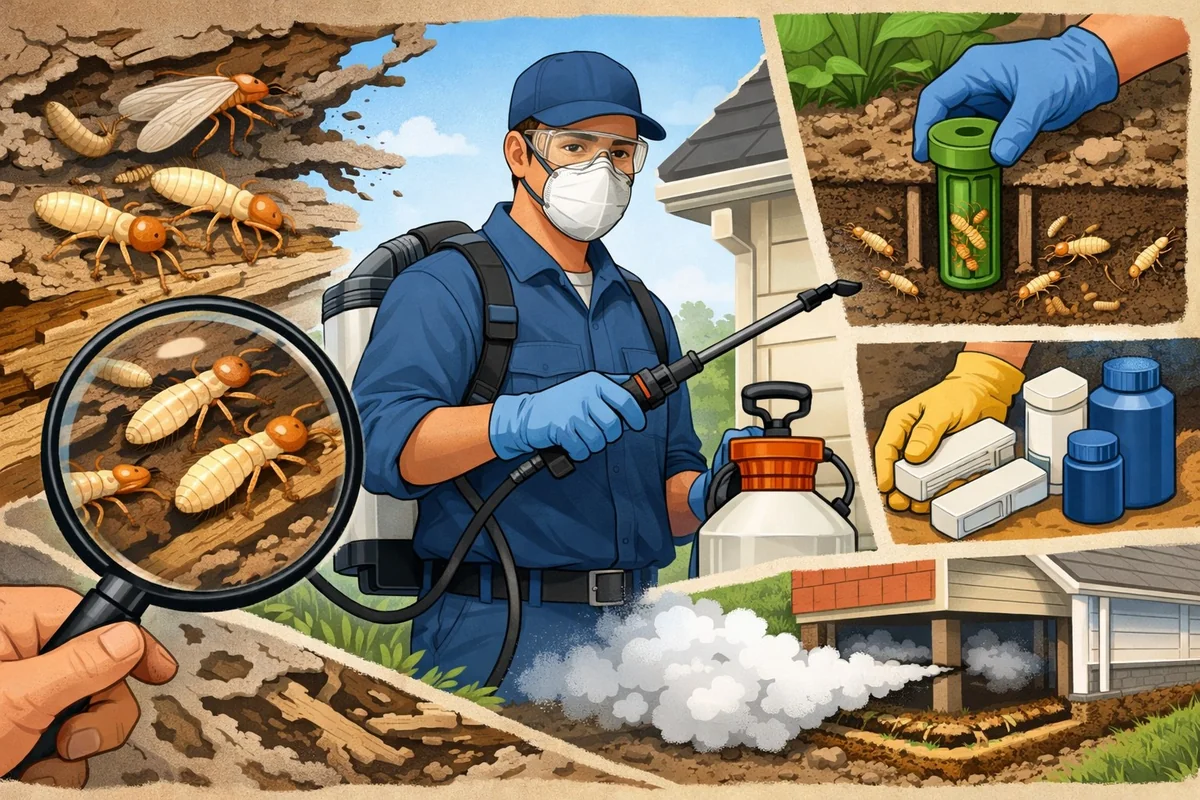
To get rid of termites, inspect your home for mud tubes, wood damage, and colonies, then apply baits or liquid termiticides using proper safety gear. Full elimination usually takes several weeks and requires follow-up checks. Thorough mapping and correct product application are key for lasting results.
How Termites Invade Homes and Why It Matters
Termites cause headaches because they slip into homes unnoticed and silently eat away at structural wood. Most homeowners don't realize termites are present until the damage is already extensive. Understanding how these pests get inside is the first step to effective termite removal.
Common Entry Points for Termites
Termites are relentless when seeking new food sources. The most common way they enter houses is through foundation cracks, where even gaps as small as 1/32 inch are enough for worker termites to squeeze through. Any spot where wood touches soil - think porch supports or steps - offers a direct path from the ground into your home.
Utility penetrations, like plumbing lines and electrical conduits, are another favorite. Termites exploit the tiny gaps around pipes or cables to move from soil to framing. They build mud tubes - thin, dirt-colored tunnels - up foundation walls and across concrete to reach wood safely, hidden from view and predators.
These entry points are often behind drywall or under flooring, making early detection tough. That's why regular, careful inspection is so important.
Termite Damage: What’s at Stake
Termites feed on the cellulose in wood, which means they hollow out floors, walls, and support beams from the inside out. Over months or years, this can lead to significant structural weakening that isn't visible until it's too late.
The financial risk is real. Annual repair costs in the US exceed $5 billion, and most home insurance policies won't cover termite damage. If you let an infestation go unchecked, you might face unsafe living conditions or lose tens of thousands of dollars in property value.
Spotting termite problems early is the only way to avoid major repairs and keep your home safe. For a broader look at termite prevention and advanced control methods, see Termite Control.
Identifying Termite Infestations Early
Catching termites early is the difference between a simple fix and months of expensive repairs. The signs are subtle at first, but knowing what to look for can save you serious trouble later on.
Key Signs of Termite Activity
Mud tubes are one of the clearest giveaways. These pencil-thin tunnels snake along walls or foundations, letting subterranean termites travel safely from soil to wood. If you spot them, you can bet termites are active nearby.
Another sign is finding discarded wings on windowsills or near doors. When termites swarm to start a new colony, they shed their wings - leaving behind small piles that look like fish scales. Hollow-sounding wood, blistered paint, or sagging floors can also indicate termite damage beneath the surface.
Don't ignore small piles of frass (termite droppings) or pinholes in wood, especially around baseboards or attic beams. These are often the first clues.
Distinguishing Termites from Ants
It's easy to mistake termites for flying ants, especially during swarming season. Termites have straight antennae and a uniform, thick waist, while ants have elbowed antennae and a pinched, hourglass waist. Termite wings are all the same length, but ant wings have larger fronts and smaller rears.
Misidentification is a common reason for failed treatments. You need to confirm the pest before investing in products or effort - ant baits won’t work on termites, and vice versa.
If you want in-depth comparisons of today's top termite products, check out the Best Termite Treatments and Baits 2026 guide.
Essential Tools and Materials for DIY Termite Removal
DIY termite control isn’t just about buying a spray and hoping for the best. The right tools make the process safer, more effective, and less frustrating.
Termite Baits vs Liquid Treatments
Termite baits and liquid termiticides are the most reliable DIY options. Bait systems use slow-acting toxins that workers carry back to the colony, eventually killing the queen and wiping out the nest. This approach is thorough but can take weeks to months for full elimination.
Liquid termiticides work faster. You apply them to soil or inject them into wood, creating a chemical barrier that kills termites on contact. Results are often visible within days, but you might miss hidden colonies if you don’t cover every possible entry point.
Baits are safer for indoor use and homes with kids or pets, but they require patience. Liquids offer speed but demand careful application and monitoring for re-infestation.
| Method | ★Difficulty Level | ★Time Required | Cost Range | ★Skill Level Needed | Effectiveness | ★Best For |
|---|---|---|---|---|---|---|
| Liquid Termiticide Barrier | Medium | 4-8 hours (typical home up to 2,000 sq ft) | Moderate | DIYers with some experience or professionals | High | Homeowners needing long-term prevention; suitable for most soil types |
| Bait Stations | Easy | 2-3 hours for setup; ongoing monitoring every 1-2 months | Budget-friendly | Beginners or those preferring minimal chemical use | Moderate | Small to medium infestations; ideal for homes under 1,500 sq ft and learning the basics |
| Fumigation (Tenting) | Hard | 24-48 hours (including prep and aeration) | Premium | Professional service required | Very High | Severe or widespread infestations; not suitable for DIY or multi-family buildings |
| Boric Acid Treatment | Medium | 2-4 hours (application and drying) | Budget-friendly | DIYers with access to affected areas | Moderate | Spot treatments in accessible wood; not effective for large or hidden colonies |
| Heat Treatment | Hard | 6-12 hours (including heat-up and cool-down) | Premium | Professional service required | High | Localized infestations in single rooms or furniture; not suitable for large structures |
Safety Gear and Application Tools
Any termite removal guide that skips safety isn't worth following. At a minimum, you'll need gloves, a mask, and goggles to protect your skin and lungs from chemical exposure. Even “natural” treatments can cause irritation or allergic reactions.
Common tools include a quality drill for injecting termiticides into wood or soil, a caulking gun for sealing cracks, and applicator tips for precise delivery. Skimping on the right gear often leads to mess, wasted product, or accidental spills.
Improper safety precautions can lead to chemical burns, lung irritation, or worse. Always read product labels and follow instructions to the letter.
Step-by-Step Guide: How to Get Rid of Termites
Once you know what equipment and chemicals you’ll use, it’s time to tackle the infestation directly. This process takes diligence - rushing through steps or skipping monitoring is the #1 reason DIY termite control fails.
Step-by-Step Guide
Eliminate termites effectively using proven, current pest control methods. This guide covers each stage from identification to prevention, ensuring thorough removal and future protection.
Total Time
2 hours 55 minutes
Difficulty
Intermediate
Identify Termite Species and Infestation Areas
Inspect your property for signs of termite activity. Focus on mud tubes, hollow wood, shed wings, and frass. Correct identification (subterranean, drywood, or dampwood) determines the most effective treatment and prevents wasted effort.
Pro Tips:
- Use a strong flashlight to check dark crawl spaces and corners.
- Tap wooden surfaces with a screwdriver handle—hollow sounds indicate damage.
- Photograph signs for reference or to show a pest professional.
Important Warnings:
- Do not disturb termite colonies unnecessarily—this can cause them to relocate and spread.
Required Tools:
- Flashlight
- Screwdriver or awl
- Gloves
- Protective mask
Choose the Appropriate Treatment Method
Select a treatment based on the termite type and infestation level. Liquid termiticides, bait systems, or foam treatments are current industry standards. The right choice ensures targeted, effective removal and minimizes chemical use.
Pro Tips:
- Consult with a licensed pest professional for large infestations.
- Liquid termiticides provide long-lasting barriers for subterranean termites.
- Bait stations are less invasive and ideal for ongoing monitoring.
Important Warnings:
- Never mix chemical products—follow label instructions exactly to avoid health hazards.
Required Tools:
- Treatment product (termite bait, termiticide, or foam)
- Protective gloves
- Eye protection
Apply Treatment to Targeted Areas
Apply the selected treatment directly to affected zones - along foundations, entry points, or inside wood galleries. Maintain even coverage for maximum effectiveness and reapply as recommended by the manufacturer.
Pro Tips:
- Read all product instructions before starting.
- Use a dedicated applicator to prevent cross-contamination.
- Mark treated areas to monitor progress.
Important Warnings:
- Wear long sleeves and a mask when applying chemicals to prevent skin or respiratory irritation.
- Keep children and pets away from treated areas until completely dry.
Required Tools:
- Termiticide sprayer or bait station kit
- Measuring cup or applicator
- Disposable coveralls
- Mask and safety goggles
Monitor and Reassess After Treatment
Check treated zones for new termite activity every 7-14 days. Reapply treatment as needed. Consistent follow-up ensures that remaining termites are eliminated and helps detect reinfestation early.
Pro Tips:
- Use sticky traps or monitoring stations for easy tracking.
- Document findings with dates and photos.
- Schedule reminders for follow-up inspections.
Important Warnings:
- Do not skip follow-up checks—missed activity can allow colonies to recover.
Required Tools:
- Monitoring stations or sticky traps
- Notebook or tracking app
- Flashlight
Seal Entry Points and Implement Prevention
Seal cracks in foundations, fix leaks, and remove wood debris from around your property. These steps reduce moisture and access, making your home less attractive to termites and supporting long-term prevention.
Pro Tips:
- Install vapor barriers in crawl spaces to reduce humidity.
- Maintain at least 6 inches clearance between soil and structural wood.
- Store firewood at least 20 feet from your home.
Important Warnings:
- Ensure all repairs are completed with termite-resistant materials where possible.
Required Tools:
- Caulk gun and exterior-grade caulk
- Concrete patch
- Shovel
- Moisture meter
Inspect and Map Out Infested Areas
Start by inspecting all wood structures, especially near foundations, crawl spaces, and attics. Use a flashlight and a screwdriver to probe wood beams, baseboards, and floor joists - hollow sounds or easy penetration signal termite damage.
Mark all mud tubes, frass, and suspect areas on a simple floor plan. This map will guide your treatment and ensure you don’t miss any hot spots. Mapping is the best way to avoid incomplete treatment and recurring infestations.
Apply Baits or Liquid Termiticides
For bait systems, install stations 10-20 feet apart around your home’s perimeter - closer spacing in high-risk areas. Follow the manufacturer’s instructions for placement depth and monitoring schedule.
For liquid termiticides, drill small holes along foundation walls and directly into infested wood. Inject the product using the supplied applicator tips, ensuring a continuous barrier with no untreated gaps. Avoid over-applying - termites can detect and avoid heavily saturated areas.
Patience is key. Baits need time to circulate through the colony, while liquids require thorough coverage to be effective.
Monitor and Re-Treat as Needed
Check bait stations every 2-4 weeks for activity and consumption. Replace bait as needed and keep records of which stations show the most feeding. For liquid treatments, watch for new mud tubes, droppings, or wood damage - especially after heavy rain.
Reapply treatments if activity continues or reappears. Skipping follow-up checks is the fastest way to let a few survivors rebuild a colony under your nose.
Comparing DIY Termite Treatments: Effectiveness and Cost
Not all termite products are created equal. Knowing the trade-offs between professional-grade and consumer products helps you choose the best fit for your situation and budget.
Professional-Grade vs Consumer Baits
Professional baits use higher concentrations of active ingredients and are designed for rapid colony elimination. Some of these are now available to homeowners, but others remain restricted due to safety regulations. Consumer baits are easier to install and generally safer, but may take longer to wipe out large infestations.
Professional-grade products often require special gear or application knowledge. If you’re tackling a small or early-stage infestation, consumer baits are usually sufficient. For severe cases, you might need to consult a professional or seek products with higher potency - if local regulations allow.
Natural and Non-Toxic Alternatives
Boric acid is a popular “natural” termite killer. It disrupts termite digestion but only works when directly applied to the wood or galleries - don’t expect it to reach deep, hidden nests. Orange oil kills termites on contact, but penetration is shallow and doesn't reach colony centers.
These treatments are safer for homes with children or pets, but they’re rarely enough for large or established infestations. Use them for spot treatments or as part of an integrated termite removal guide - just don’t count on miracles for deep-seated colonies.
Common Mistakes to Avoid During Termite Removal
DIY termite removal is full of pitfalls. Most failed attempts come down to missed steps or improper product use, not a lack of effort.
Skipping Inspection Steps
Incomplete inspections leave hidden colonies and guarantee recurring infestations. Check crawl spaces, attics, basements, and behind appliances - these are frequent termite hotspots. Overlooking small signs like pinholes or frass can lead to major missed damage and wasted treatments.
Improper Product Application
Applying termiticides at the wrong dosage or in the wrong locations reduces effectiveness and wastes money. Liquid treatments need to reach the right depth to contact underground colonies - shallow applications won’t do the job. Disturbing bait stations or placing them too far apart can cause termites to avoid them entirely.
Tips for Preventing Future Termite Infestations
Getting rid of termites is only half the battle. Prevention is what keeps them from coming back year after year.
Moisture Control and Home Maintenance
Termites love moisture. Fix leaking pipes and improve drainage around your foundation to keep the soil dry. Seal foundation cracks and gaps around utility lines to block new entry points.
Store firewood, mulch, and scrap lumber at least 20 feet from your home to reduce risk. Trim back shrubs so they don’t touch exterior walls - plant matter acts as a bridge for termites.
Regular Inspections and Early Detection
Schedule annual inspections, either DIY or professional, especially if you live in a high-risk region. Install monitoring stations in your yard or crawl space to catch new colonies before they cause expensive damage.
Early intervention is always cheaper and easier than major repairs. A little vigilance now saves a lot of money later.
Frequently Asked Questions About Termite Removal
❓ Frequently Asked Questions
What are termites and why are they a problem in homes?
What are termites and why are they a problem in homes?
Termites are wood-destroying insects that feed on cellulose in timber and paper. They weaken structural components, causing costly damage and safety risks. Most infestations go unnoticed until significant harm is done - subterranean termites are especially destructive, accounting for over 80% of termite-related damage in homes.
How do I get rid of termites in my house?
How do I get rid of termites in my house?
To eliminate termites from your house:
- Identify infestation areas using visual inspection and moisture meters
- Apply liquid termiticide or bait stations around the foundation
- Remove wood debris and repair leaks to reduce attractants
- Monitor with follow-up inspections every 3-6 months
Professional treatment is recommended for severe infestations or inaccessible areas.
What should I look for when choosing termite control products?
What should I look for when choosing termite control products?
When selecting termite control products, consider:
- Active ingredient: fipronil and imidacloprid offer proven effectiveness
- Application method: liquid barriers vs. bait stations
- Residual activity: look for 5+ years protection for liquids
- Safety ratings: especially around pets and children
Compare at least 2-3 EPA-registered products before buying.
How often should I inspect my home for termites?
How often should I inspect my home for termites?
Homeowners should inspect for termites at least once per year. In high-risk areas or after heavy rains, every six months is recommended. Early detection greatly reduces costly damage. Professional inspections are advised if signs of mud tubes, frass, or hollow-sounding wood are found.
What is the difference between liquid termiticides and termite bait stations?
What is the difference between liquid termiticides and termite bait stations?
Liquid termiticides create a chemical barrier in soil to kill and repel termites, offering fast protection for 5+ years. Bait stations attract termites to consume slow-acting poison, targeting the entire colony but working more gradually. Many professionals use both methods for optimal long-term results.
When is the best time of year to treat for termites?
When is the best time of year to treat for termites?
The best time to treat for termites is early spring, when colonies become more active due to warmer temperatures and increased moisture. Treating before peak swarm season maximizes effectiveness. However, treatment is effective any time an infestation is detected - delaying allows further damage.
Can I get rid of termites myself or should I hire a professional?
Can I get rid of termites myself or should I hire a professional?
DIY termite treatments may work for small, early infestations using bait stations or spot liquid applications. However, most users report that professional pest control is more effective for severe, hidden, or recurring problems. Licensed pros have access to stronger products and advanced detection tools, ensuring complete colony elimination.
How do I prevent termites from coming back after treatment?
How do I prevent termites from coming back after treatment?
To prevent termite reinfestation:
- Eliminate wood-to-soil contact around your home
- Fix leaks and reduce moisture near the foundation
- Remove wood debris and mulch close to walls
- Schedule annual professional inspections
Consistent monitoring and maintenance are key to long-term termite prevention.
Key Takeaways for Effective Termite Elimination
Termite removal isn’t a weekend project you can rush. Careful inspection, mapping, and choosing the right treatment are essential for success. Baits offer thorough, long-term elimination, while liquids provide speed - pick based on your risk tolerance and home setup.
Don’t skip follow-up checks. Surviving termites will rebuild quickly if you let your guard down. Prevention is a year-round effort: control moisture, seal entry points, and inspect regularly.
If you hit a wall or see signs the infestation is beyond DIY control, don’t wait - call in a licensed termite professional to protect your investment.
Related Articles
Best Termite Treatments and Baits 2026: Expert Picks for DIY Control
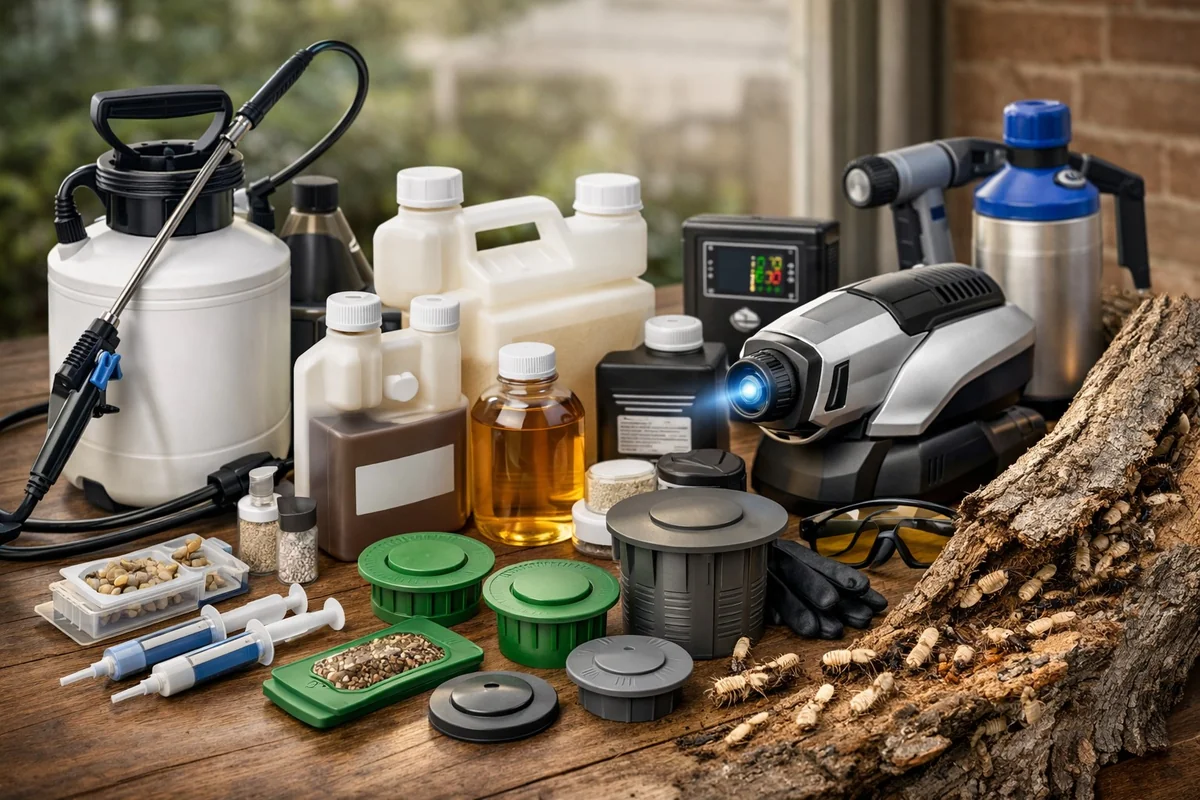
Best termite treatments and baits for 2026. Compare top-rated liquid barriers, bait stations, sprays, and natural solutions for effective DIY termite control.
![Best Protective Gear for Pest Control 2026 [Expert Reviews]](https://pestproreviews.com/images/hero/hero_best_protective_gear_for_pest_control_2026_expert.webp)
Best Protective Gear for Pest Control 2026 [Expert Reviews]
Protect yourself during DIY pest control in 2026 with our expert-reviewed guide to the best protective gear. Compare top-rated respirators, gloves, coveralls, and more for safe, effective pest removal at home.
Complete Guide to Pest Prevention in Homes: Stop Pests in 2026
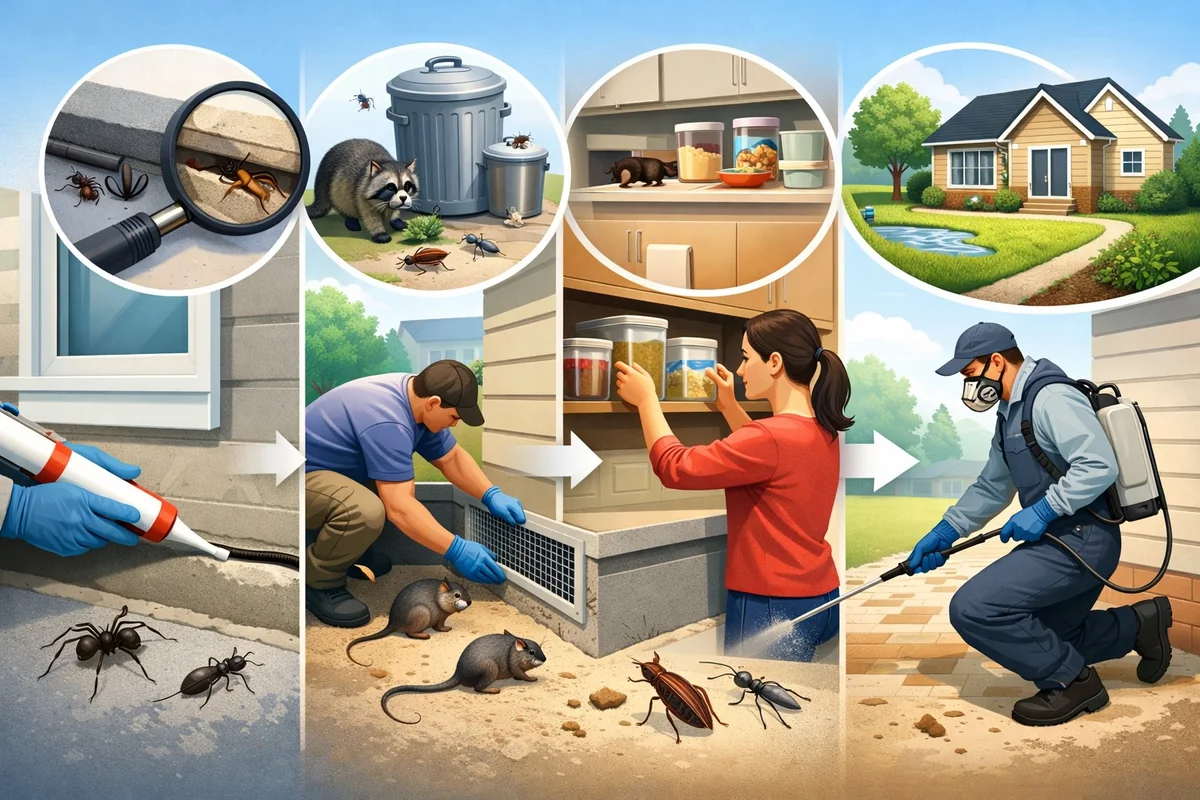
Protect your home in 2026 with this complete pest prevention guide. Discover proven DIY methods, room-by-room tips, safe solutions for families, and expert advice to stop pests before they start.
Best Carpenter Ant and Wood Borer Treatments 2026: Top Baits, Sprays, and Safe Solutions
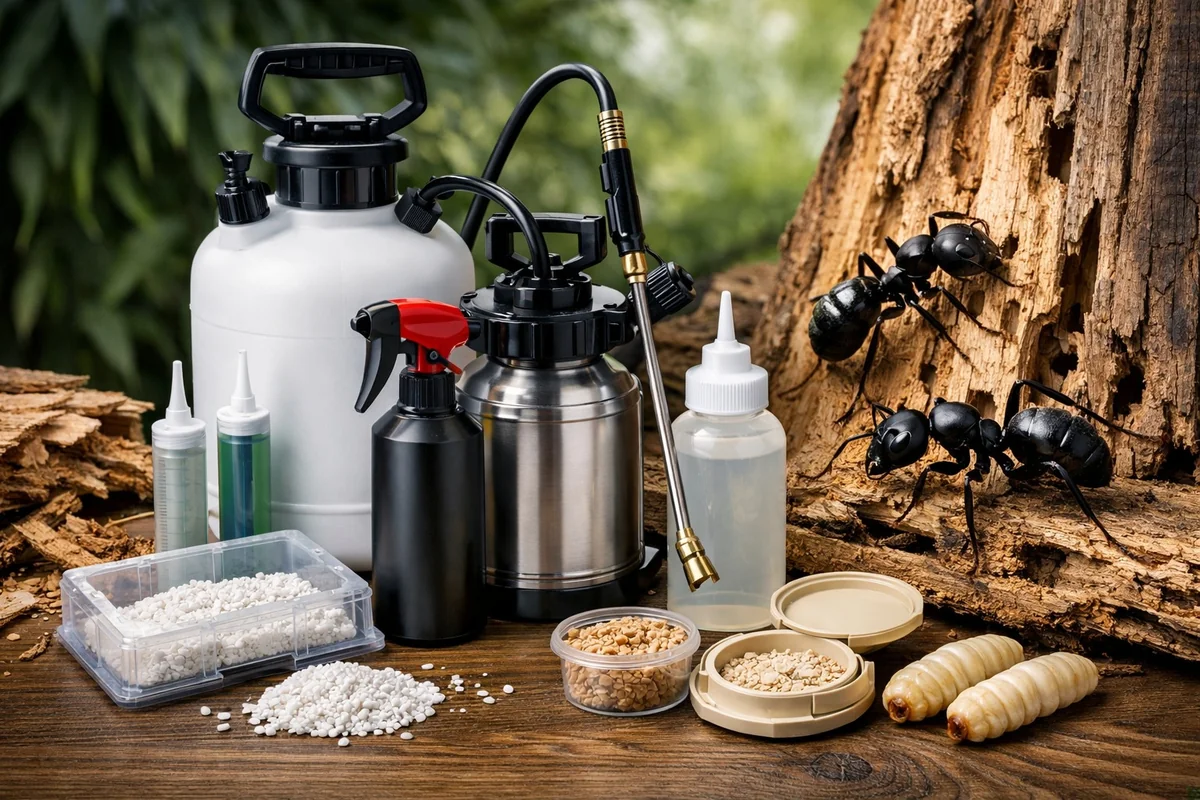
Discover the best carpenter ant treatments and wood borer control products for 2026. Compare effective baits, sprays, natural solutions, and expert tips to eliminate pests and protect your home - DIY-friendly and budget-conscious.