
How to Distinguish Between Insect and Rodent Damage (2026 Guide)
Learn how to quickly and accurately identify insect vs rodent damage in your home. Our 2026 step-by-step guide covers key differences, inspection tips, common mistakes, and DIY solutions to help you resolve pest problems safely and effectively.
To distinguish between insect and rodent damage, check the size and shape of holes, look for gnaw marks or fine scraping, examine droppings, and note the materials affected. Inspection takes about 30-60 minutes and needs basic tools like a flashlight and gloves. Proper identification ensures you choose the right DIY pest control method.
What Insect and Rodent Damage Looks Like
Knowing what insect vs rodent damage looks like is the most important step in controlling a pest problem yourself. Each type of pest leaves telltale clues, but you need to know what to look for (and what to ignore) to avoid wasting time and money on the wrong solution.
Typical Signs of Insect Damage
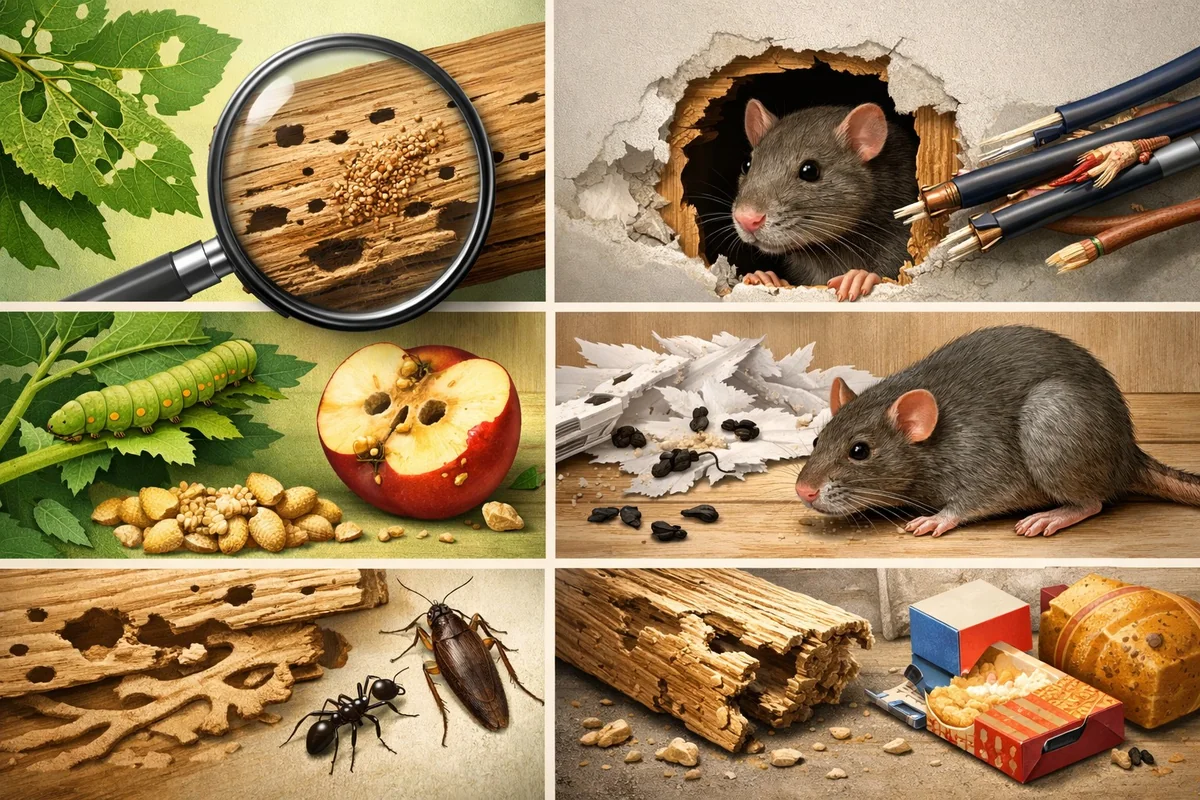
Insect damage is usually subtle at first glance. You might spot chewed leaves with small holes, or lines of tiny pinholes in wooden trim, baseboards, or furniture. If you see what looks like fine sawdust or peppery grit below wood, that's likely insect frass - essentially insect droppings or debris.
Termites and carpenter ants are notorious for creating tunnels and galleries inside wood. These pests often expel frass mixed with sawdust outside their entry points. Their damage is usually internal, so the surface may look fine except for tiny holes or faint lines.
Surface-level marks are common with insects, but they rarely chew through thick materials. Insects are more likely to make shallow scrapes, small bore holes, or leave behind softened, crumbling areas in wood or paper. They almost never leave wide, deep gouges.
Typical Signs of Rodent Damage
Rodents are much bolder in their destruction. Gnawed wood, chewed plastic, and stripped wiring are classic signs. Look for rough, irregular bite marks - these are often 2-5 mm wide with visible tooth grooves.
As they move, rodents rub their oily fur against surfaces, leaving greasy smudges and sometimes urine stains along baseboards, pipes, or beams. These marks are a clue that a well-worn rodent “highway” is in use.
For nesting, rodents shred insulation, fabric, cardboard, or paper. Unlike insects, which leave scattered debris, rodents create compacted nests of chewed material, sometimes hidden deep in attics or behind walls. If you notice gnawed corners on food packaging or holes in storage bins, think rodents first. For a broader overview of pest types and their signs, see our Guide to Identifying Household Pests.
Key Differences: Insect vs Rodent Damage
Spotting damage is one thing - knowing whether it’s from insects or rodents is another. Here’s how to tell the difference so you can target the right culprit the first time.
Size and Shape of Damage
Rodent gnaw marks are easy to spot once you know what to look for. Their bites are larger, more ragged, and often show parallel tooth grooves. These marks can be up to 2-5 mm wide and are usually found on thicker, tougher materials like wood framing, PVC pipes, or heavy plastic bins.
Insect damage is much smaller and more precise. You’ll see clean-edged holes (1-3 mm diameter), fine scraping, or shallow pits. Insects rarely break through thick wood; their handiwork is usually limited to the surface or just beneath it, leaving thin shells or hollowed-out galleries.
The thickness of the affected material is a big clue. If you see deep, splintered gouges, especially in baseboards, beams, or wiring, rodents are almost always to blame. Insects just don’t have the jaw power for that kind of destruction.
Type of Materials Targeted
Rodents are notorious for chewing through almost anything in their path - including hard plastics, electrical wiring, and even cinder block mortar. This is where fire risks come in. Chewed wires can spark, so if you see gnaw marks on cords or breakers, take it seriously.
Insects target organic materials: wood, paper, cardboard, and some fabrics. They’re drawn to food sources too, but you’ll rarely find insect damage to wiring or thick plastics. For example, silverfish may eat book bindings or wallpaper paste, but ignore electrical cords - rodents do the opposite.
Each pest has a preference. Some insects (like carpet beetles) will eat fabrics or natural fibers, while rodents skip these in favor of nesting material or food packaging.
Associated Traces: Droppings, Smudges, and Odors
Rodent droppings are a dead giveaway - they’re capsule-shaped, 5-10 mm long, and usually found in clusters near nest sites or feeding areas. Insect frass, on the other hand, is much finer and varies by species: termite and carpenter ant frass looks like sawdust or tiny pellets, while cockroach droppings look like coffee grounds.
Rodents also leave behind strong, musky odors from urine and scent marking, which can be obvious in closed spaces. Insect infestations rarely smell unless you’re dealing with a massive colony or dead insects accumulating in wall voids.
Grease marks, urine stains, and shredded material are almost always rodent-related. Fine debris, powdery residue, or neat piles of pellets point to insects. For more pest identification tips, our Pest Identification page offers practical guides for homeowners and renters.
| Method | ★Difficulty Level | ★Time Required | Cost Range | ★Accuracy | Best For | Skill Level Needed |
|---|---|---|---|---|---|---|
| Visual Inspection of Damage Patterns | Easy | 30-60 minutes per affected area | Budget-friendly | Moderate | Homeowners checking small or obvious damage indoors | Beginner |
| Use of Magnification Tools (Hand Lens or Microscope) | Medium | 1-2 hours per inspection | Moderate | High | DIYers or professionals analyzing subtle or microscopic marks | Intermediate |
| Trap and Evidence Collection (Droppings, Frass, Tracks) | Medium | 1-3 days (includes trap monitoring) | Moderate | Very High | Users needing confirmation of active pests in larger or hidden areas | Intermediate |
| Professional Laboratory Analysis (Sample Testing) | Hard | 3-7 days including lab turnaround | Premium | Excellent | Complex or high-value situations requiring conclusive identification | Advanced |
How to Inspect for Pest Damage in Your Home
Getting a clear picture of what’s going on in your home means more than a quick glance. A careful inspection helps you spot early warning signs and tells you exactly what you’re up against - before you start any DIY treatment.
Essential Tools for Inspection
Your inspection kit should include a bright flashlight for dark corners, a magnifying glass to check hole edges, and gloves and a mask to protect against droppings and dust. A camera or phone helps document what you find for later comparison or expert advice.
Gloves and masks aren’t overkill - rodent droppings and urine can carry dangerous pathogens like hantavirus or salmonella. Even insect frass can trigger allergies. Protect yourself while handling or cleaning up any pest debris.
This small investment in safety gear makes inspections faster, safer, and more effective.
Where to Check: High-Risk Areas
Start with attics, basements, and crawl spaces - these are prime real estate for both rodents and insects. Rodents love the insulation and dark corners; insects thrive in moist, sheltered areas. Next, check behind appliances, inside cabinets, and around food storage areas, where crumbs and clutter attract pests.
Don’t forget wall voids and along baseboards. You may need to move furniture, lift rugs, or peek behind stored boxes. Rodents often use the same hidden paths, while insects can infest exposed wood, window sills, or door frames.
Documenting these hotspots now will save you backtracking later if the problem spreads.
Documenting and Comparing Findings
Take clear photos of any damage, droppings, or material you find. Record the size and shape of holes, location of nests, and any distinctive marks. Keep a notepad or checklist to track what you see - this helps spot patterns and recurring issues.
Comparing your findings over time can reveal whether the infestation is active, growing, or under control. If you ever need to consult a professional, this documentation speeds up their assessment and can save you money.
Step-by-Step Guide: Identifying Pest Damage
Ready to tackle your inspection? Here’s the process our experts use when called to a home with mysterious damage.
Step-by-Step Guide
Learn how to accurately distinguish between insect and rodent damage using modern inspection techniques. This guide provides clear steps to identify pest types, minimize misdiagnosis, and improve pest management outcomes.
Total Time
42 minutes (plus observation period)
Difficulty
Beginner
Inspect the Damage Area Closely
Examine affected surfaces for entry holes, chew marks, or frass. Use a flashlight to illuminate crevices and dark corners. Noting the pattern and size of damage helps determine if insects or rodents are responsible.
Pro Tips:
- Look for gnaw marks approximately 1/8 inch wide—these often indicate rodent activity.
- Check for fine sawdust or powdery frass near wood—this usually signals insect presence.
- Document findings with close-up photos for later comparison.
Important Warnings:
- Always wear gloves and a dust mask; rodent droppings and insect debris can carry pathogens.
Required Tools:
- LED flashlight
- Nitrile gloves
- Dust mask
Identify Droppings and Debris
Collect and examine any droppings or debris near the damage. Rodent droppings are usually larger (1/4-1/2 inch) and pellet-shaped, while insect frass is finer and powder-like. This step narrows down the pest type.
Pro Tips:
- Use a disposable spatula to safely collect samples.
- Compare findings to online pest identification charts.
- Seal samples in a plastic bag for professional assessment if needed.
Important Warnings:
- Avoid direct contact with droppings—use tools and dispose of samples properly.
Required Tools:
- Disposable spatula
- Seal-able plastic bags
- Pest ID chart (digital or print)
Examine Chewing and Feeding Patterns
Analyze the shape and edges of the damage. Rodents create rough, uneven gnaw marks on wood or plastic, while insects like termites or beetles leave smoother, pin-sized holes or galleries. Proper analysis aids accurate identification.
Pro Tips:
- Use a magnifying glass to see fine details in wood or insulation.
- Measure holes: rodent entry points are larger than 1/2 inch; insect holes are under 1/8 inch.
- Note any shredded paper or insulation, which often signals rodents.
Important Warnings:
- Do not disturb active nests or colonies—this may trigger aggressive behavior or make identification harder.
Required Tools:
- Magnifying glass (10x recommended)
- Measuring tape or ruler
Check for Odors and Sounds
Smell and listen near damaged areas. Rodents often produce musky odors and scratching noises, especially at night. Insects may create faint tapping or rustling sounds. Sensory checks provide additional evidence for pest identification.
Pro Tips:
- Conduct this step during quiet hours for better sound detection.
- Sniff for ammonia-like odors, common with rodent infestations.
- Use a sound recorder app to capture faint noises for comparison.
Important Warnings:
- Avoid prolonged exposure to strong odors in confined spaces—ventilate the area if necessary.
Required Tools:
- Portable sound recorder (or smartphone app)
Confirm with Monitoring Devices
Set up glue boards or motion-activated cameras near affected zones. Check devices after 24-48 hours. Capturing evidence of pests in action provides definitive identification and supports targeted removal measures.
Pro Tips:
- Place glue boards along walls where rodents travel.
- Position cameras low to the ground to catch small pests.
- Label each monitoring device with the date for accurate tracking.
Important Warnings:
- Dispose of trapped pests according to local regulations—improper disposal may present health risks.
- Do not place glue boards where pets or children can access them.
Required Tools:
- Glue boards (rodent/insect rated)
- Motion-activated camera (night vision recommended)
- Permanent marker
Gather Tools and Safety Gear
Before you start, collect a flashlight, gloves, mask, magnifying glass, and notepad or camera. Gloves and a mask are essential - rodent droppings and urine can transmit serious diseases, and insect debris can cause allergic reactions. Being prepared ensures you work quickly and safely without backtracking for missing tools.
Inspect Common Problem Areas
Start with kitchens, pantries, attics, basements, and storage areas. Look for droppings, gnaw marks, chewed holes, shredded insulation, or fabric piles. Note where the damage is found: rodents usually prefer hidden, sheltered paths, while insects may infest exposed wood, windowsills, or paper goods.
Use your flashlight to check under sinks, behind appliances, and in corners. Move boxes or storage bins to reveal nests or damage that’s out of sight. Take a photo of anything unusual for later comparison.
Analyze the Damage Characteristics
Measure and photograph any holes, chewed edges, or trails. Compare what you find to known examples of insect vs rodent damage (see the summary table above). Look for additional clues like odor, smudge marks, or piles of frass.
If you notice gnawed wires or deep gouges, rodents are likely. Fine holes with sawdust or powdery debris suggest insects. Don’t overlook faint odors or grease marks - these often go unnoticed in quick checks.
Confirm the Culprit Before Acting
Use your evidence to match the pest type. Avoid jumping to conclusions - using rodent bait for insect problems (or vice versa) won’t solve the issue. If you’re not sure, consult online resources or local extension offices with your documentation.
Misidentifying the pest wastes time and can make things worse. Getting it right the first time leads to faster, safer results.
Common Mistakes When Identifying Pest Damage
Even seasoned DIYers can misread the signs. Here are the errors we see most often - and how to avoid wasting time or money on the wrong approach.
Mistaking Old Damage for Active Infestation
Old rodent gnaw marks may look fresh, especially if the wood is light-colored. Check for fresh droppings, new shavings, or recent grease marks to confirm ongoing activity. Insect tunnels or exit holes can last years after the colony is gone - look for live insects or fresh frass before treating.
Treating inactive infestations won’t solve your current problem and could expose you to unnecessary chemicals or traps. Take time to confirm the pest is still present.
Confusing Pest Types Due to Overlapping Signs
Small rodents and large insects sometimes leave similar-sized holes. Use your magnifying glass to examine the texture: rodent bites are rough and splintered, insect holes are smoother and cleaner. Droppings can also be misidentified - compare size, shape, and where you find them.
Wrong identification leads to ineffective treatments, wasted effort, and ongoing frustration. When in doubt, step back and reassess using all clues, not just one.
Ignoring Subtle or Hidden Evidence
It’s easy to overlook attic or crawl space damage, letting pests multiply out of sight. Missing faint odors or small grease marks can delay rodent detection for weeks or months. Superficial inspections often miss early-stage infestations, which can quickly escalate if not caught and treated.
Thoroughness counts more than speed - take the extra time to check hidden and less obvious spots.
What to Do After Identifying the Pest
Once you know whether you’re dealing with insects or rodents, you can move forward with a targeted, effective plan. Here’s how to choose the right next step.
Choosing the Right DIY Treatment
For rodent infestations, use traps or bait stations - sprays and dusts rarely work on rodents and can create hazards for pets or kids. Insect infestations require targeted insecticides, baits, or non-chemical approaches like vacuuming and sealing entry points. Never use rodent-specific products for insect problems, and vice versa.
Hybrid infestations (rare, but possible) may need both approaches - focus on sealing gaps, removing food sources, and using both traps and insect baits where signs overlap.
When to Call a Professional
Large or recurring infestations, especially those involving extensive structural damage, should be handled by a licensed exterminator. Warning signs include heavy droppings, exposed wiring, persistent odors, or active pests after multiple DIY attempts.
Trying advanced treatments without the right experience can make the problem worse or create safety hazards. Don’t hesitate to bring in a pro if you’re unsure - sometimes it’s the safest, fastest solution.
Frequently Asked Questions About Pest Damage Identification
❓ Frequently Asked Questions
What is the difference between insect and rodent damage?
What is the difference between insect and rodent damage?
Insect damage is typically characterized by small holes, chewed leaves, or fine sawdust (frass), while rodent damage often involves larger gnaw marks, shredded materials, and droppings. Identifying the correct cause helps target removal methods. For example, rodents frequently leave greasy rub marks along walls, while insects may leave shed skins or wings.
How can I tell if holes in wood are caused by insects or rodents?
How can I tell if holes in wood are caused by insects or rodents?
To determine if wood holes are from insects or rodents:
- Examine hole size - tiny holes (1–2 mm) usually indicate insects, while larger gnawed openings (over 10 mm) suggest rodents.
- Look for frass or sawdust (insects) versus wood chips (rodents).
- Check for droppings - rodents leave pellet-shaped droppings near entry points.
Use a flashlight for close inspection.
What signs indicate rodent damage in the home?
What signs indicate rodent damage in the home?
Rodent damage is often identified by:
- Chewed electrical wires or plastic
- Large gnaw marks on wood or food packaging
- Accumulations of dark, pellet-shaped droppings
- Nests made from shredded paper or fabric
- Greasy rub marks along walls
If you see these signs, prompt action helps prevent further infestation.
What are common signs of insect damage to plants?
What are common signs of insect damage to plants?
Insect damage to plants typically includes:
- Small, irregular holes in leaves
- Yellowing or wilting foliage
- Presence of sticky residue (honeydew)
- Webbing or fine silk threads
- Groups of tiny eggs on stems or leaf undersides
Inspect plants regularly to catch infestations early and minimize long-term harm.
How do I inspect my home for pest damage?
How do I inspect my home for pest damage?
To inspect your home for pest damage:
- Check baseboards, attic, and crawl spaces for droppings or gnaw marks.
- Examine food storage areas for chewed packaging.
- Look for holes in walls, floors, or wood structures.
- Inspect plants for leaf damage or webbing.
Wear gloves and use a flashlight for safety.
When is the best time to check for pest damage?
When is the best time to check for pest damage?
The best time to check for pest damage is during spring and fall, as pest activity increases with changing temperatures. Early morning or evening inspections are most effective, since rodents and many insects are more active then. Schedule thorough checks at least twice per year for best results.
What should I look for when choosing a pest removal professional?
What should I look for when choosing a pest removal professional?
When hiring a pest removal professional, consider:
- Licensing and certification: ensures legal, safe operations
- Experience with your specific pest
- Positive verified reviews
- Use of safe, modern methods
- Transparent pricing and guarantees
Request a written estimate and clarify follow-up procedures before committing.
Why is it important to identify the type of pest damage?
Why is it important to identify the type of pest damage?
Correctly identifying pest damage helps you select the most effective removal method and prevents recurring issues. For instance, treatments for insects differ from rodent control strategies. Misidentification can lead to wasted time and money. Accurate diagnosis also reduces unnecessary pesticide use, protecting your home and environment.
Key Takeaways
Identifying insect vs rodent damage is about knowing what clues to look for: size and shape of holes, type of material affected, and the presence of droppings, smudges, or odors. Careful inspection with the right tools - and proper safety gear - makes DIY pest control faster and more effective.
Document your findings, compare them with known examples, and act only after confirming the pest type. When in doubt, seek expert advice or call a professional for persistent or hazardous situations.
Start your inspection today to protect your home and avoid unnecessary damage. For more help, browse our pest identification guides or reach out to local experts if the problem continues.
Related Articles
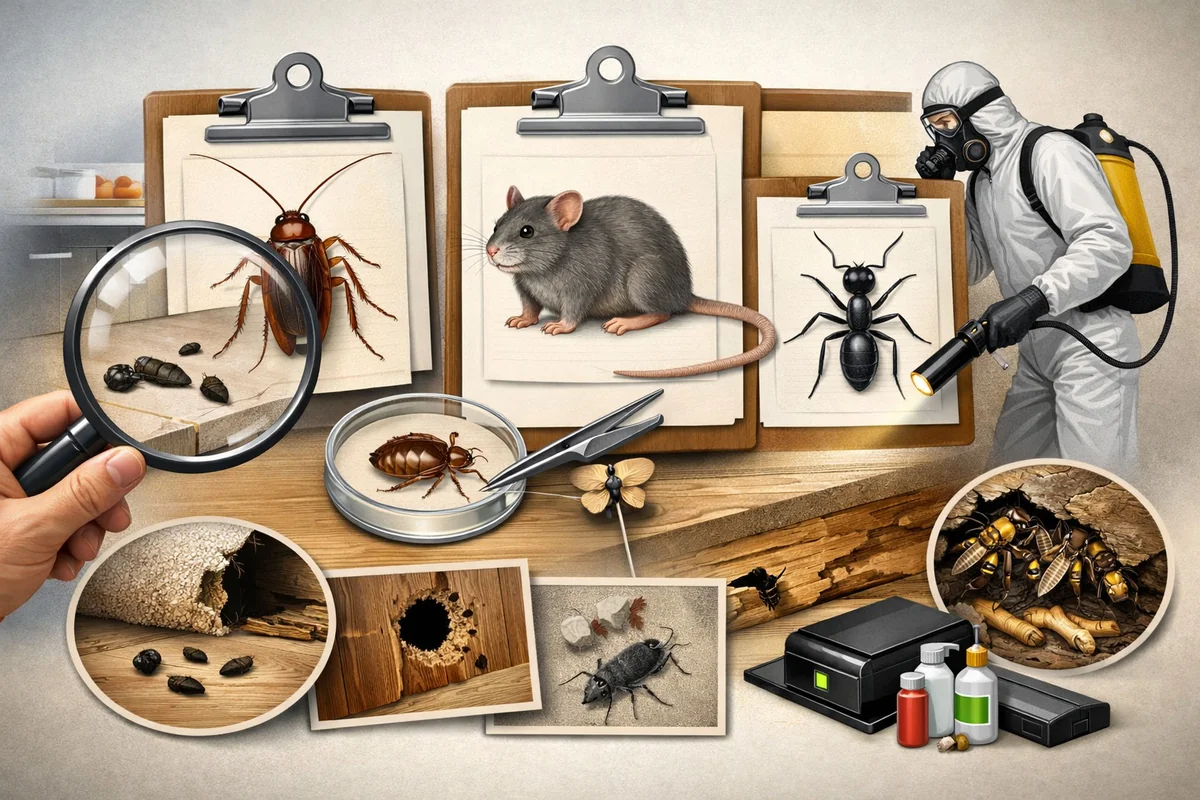
Guide to Identifying Household Pests: Spot, Compare, and Act on Common Pest Signs in 2026
Learn how to identify household pests quickly and accurately with our 2026 step-by-step pest identification guide. Spot common pest signs, compare DIY and professional methods, and take control of your home without costly exterminators.

Best Rat Traps and Baits 2026: Top Picks for Every Infestation
Find the best rat traps and baits of 2026 for fast, safe, and affordable DIY rat control. Compare top snap, electric, live-catch, poison, and natural products to eliminate rats from your home.
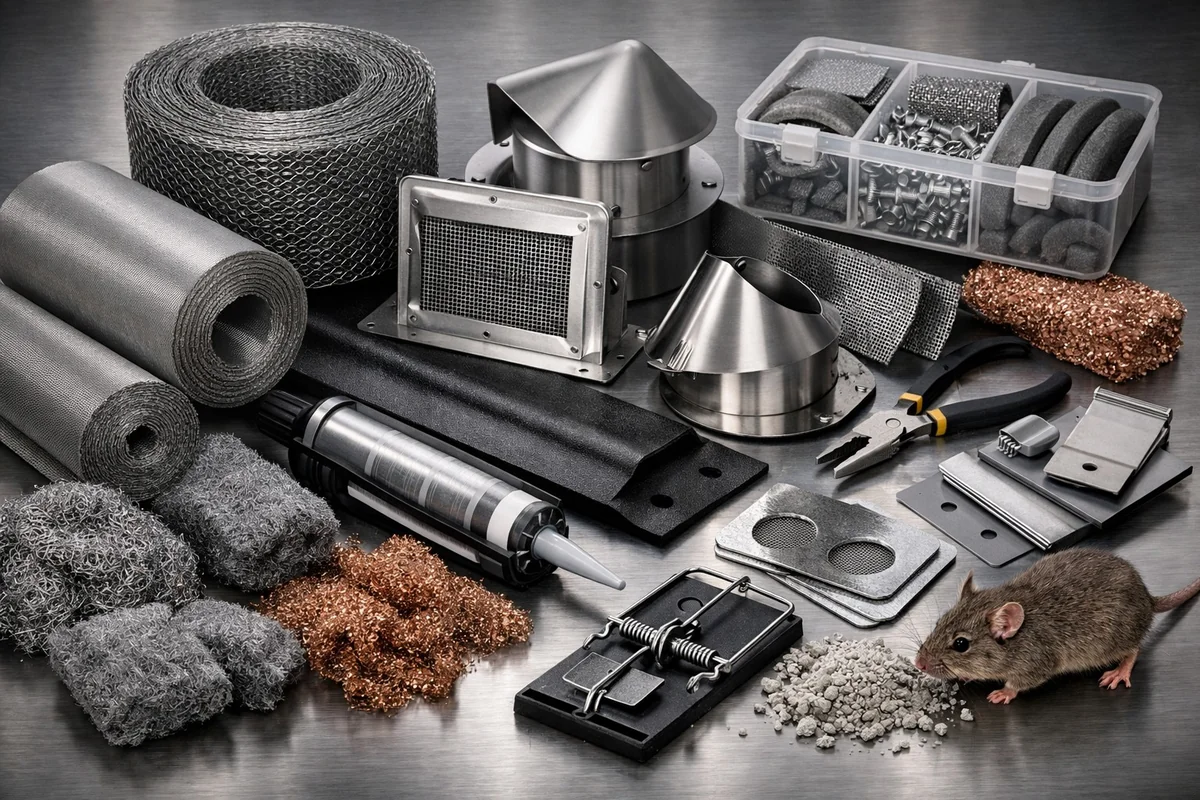
Best Rodent-Proofing Materials and Products 2026: Steel Wool, Mesh, Kits, and More
Find the best rodent-proofing materials, products, and exclusion kits for 2026. Compare steel wool, mesh, sealants, vent covers, and natural deterrents to keep your home rodent-free with expert DIY recommendations.
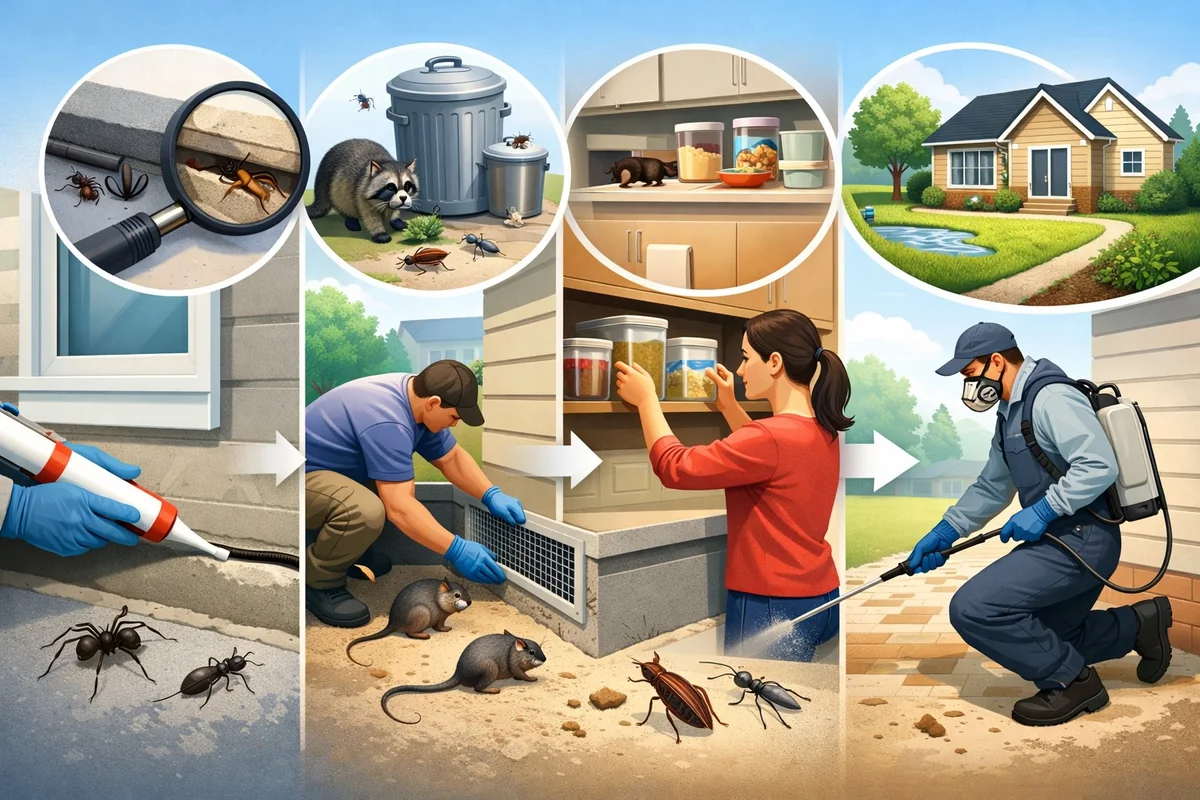
Complete Guide to Pest Prevention in Homes: Stop Pests in 2026
Protect your home in 2026 with this complete pest prevention guide. Discover proven DIY methods, room-by-room tips, safe solutions for families, and expert advice to stop pests before they start.