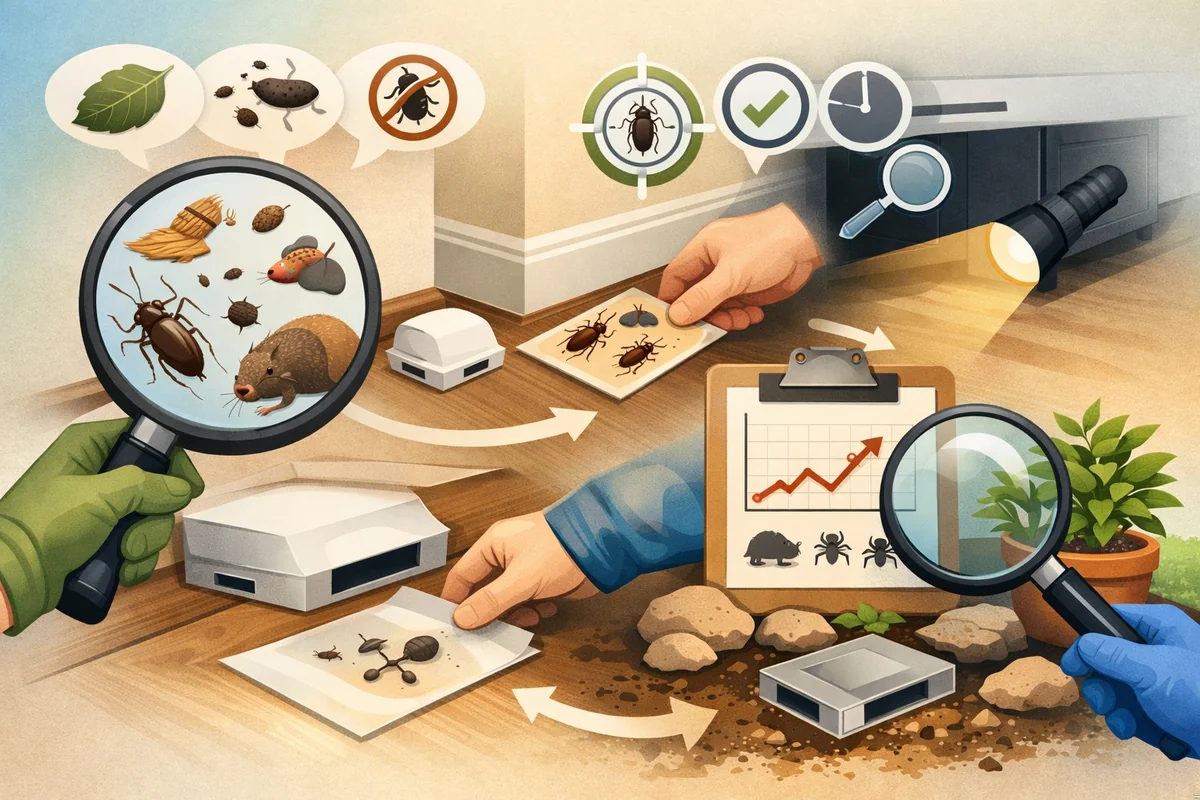

How to Use Pest Monitors for Early Detection: DIY Monitoring Guide
Learn how to use pest monitors for early pest detection in your home. This step-by-step guide covers types of monitors, placement strategies, common mistakes, and expert tips for effective DIY pest monitoring in 2026.
To use pest monitors for early detection, select the right trap or sensor for your target pest, place them in high-risk areas like kitchens and basements, and check weekly for activity. Log your findings and adjust placement as needed. Most setups take under 30 minutes and require basic supplies - no pro skills needed, just consistency and attention to detail.
Why Early Pest Detection Matters
Acting early is the single biggest advantage you have over pests. Catching activity before a full-blown infestation means you control the problem on your terms - not the pests'.
When you monitor regularly, you stop infestations before they explode. One mouse can turn into dozens in just a few weeks. Ants and roaches multiply even faster. Early detection lets you treat small problems with simple traps or baits, instead of gutting cabinets or pulling up floors.
Delaying detection leads to more damage, higher costs, and sometimes even health risks. Termites can hollow out beams in months, and rodents can chew wiring or contaminate food. Once pests get that foothold, you’re looking at aggressive (and expensive) chemical treatments or professional help.
Traditional inspections - the kind most people do - rely on visible signs: droppings, damage, or the pests themselves. But by the time you spot those, the population is already established. Monitors, by contrast, work quietly and continuously.
They catch the first stragglers, not just the survivors of a big colony.
Monitors also pick up nocturnal or hidden activity you’d never notice. Our analysis shows sticky traps routinely catch roaches long before anyone sees one in the open. That’s your chance to stop things before they spiral.
For a deeper dive into the best options, see Best Pest Traps and Monitors 2026 for current recommendations and user-tested picks.
Types of Pest Monitors and Their Uses
Not all monitors work the same way - or for the same pests. Picking the right type is half the battle. Here’s how each main category fits into a DIY strategy.
Sticky Traps and Glue Boards
Sticky traps are the workhorses for crawling insects. You’ll catch roaches, ants, spiders, and even silverfish as they walk over the adhesive surface. The real value isn’t just killing the bugs - it’s knowing what species you’re dealing with and where they’re coming from.
Sticky traps let you map hotspots. If you find multiple traps near the fridge loaded with German cockroaches, you know where to focus your treatment. Traps near windows catching ants suggest an outdoor entry point.
They’re cheap, safe, and easy to deploy in big numbers.
They do have limits. Dust, pet hair, or high humidity can reduce stickiness. If you have pets, you’ll need to keep traps where tails and paws won’t get stuck.
Replace them regularly for best results.
Bait Stations and Lures
Bait stations use food or pheromones to attract pests. They’re especially effective for ants, cockroaches, and small rodents. The main benefit is twofold: they not only alert you to pest presence but can also help gauge the severity by how quickly bait is consumed.
Some baits are species-specific - sugar baits for sweet-loving ants, protein baits for other types. The key is to match the bait to the pest. If you see increasing bait consumption week over week, you may be dealing with an expanding colony nearby.
Place baits correctly to avoid attracting pests from outside. Put them near activity, not at exterior doors or outside windows unless you’re deliberately intercepting pests before they enter. Poor placement can actually increase pest pressure indoors.
Electronic and Smart Monitors
Technology has stepped up in the last few years. Electronic monitors use sensors, cameras, or even vibration detectors to pick up movement, heat, or noise from rodents and larger pests. Some models push alerts to your phone, letting you know instantly if something’s tripped a trap.
These are especially handy for people who travel, manage rental properties, or want to check on second homes. The downside is higher upfront cost, plus the need to maintain batteries, Wi-Fi, or app connections. They’re best for rodents or large insects - tiny bugs often go undetected.
For a breakdown of the full range of traps and monitors on the market, check the Traps & Monitors archive for detailed overviews and comparisons.
| Method | ★Difficulty Level | ★Time Commitment | Cost Estimate | Skill Required | Coverage Area | ★Effectiveness |
|---|---|---|---|---|---|---|
| Sticky Trap Monitoring | Easy | 30-45 minutes per week (setup and inspection for 3-5 rooms) | Budget-friendly | Beginner (no prior experience needed) | Up to 500 sq ft per trap | Moderate (best for crawling insects; limited for flying pests) |
| Pheromone Trap Monitoring | Medium | 45-60 minutes per week (placement, replacement, and recording) | Moderate | Intermediate (requires identification of target species) | 300-600 sq ft per trap (species-dependent) | High (very effective for targeted pest species, less for general pests) |
| Visual Inspection with Monitoring Cards | Medium | 60-90 minutes per week (thorough room-by-room checks) | Low | Beginner to Intermediate (basic pest identification helpful) | 200 sq ft per inspection round | Variable (thorough but time-consuming; relies on observer skill) |
| Electronic Sensor Monitoring | Hard | 2-4 hours initial setup, 10-20 minutes per week for data review | Premium | Advanced (basic tech setup and data interpretation) | Up to 1000 sq ft per sensor (depends on sensor type and layout) | Very High (continuous monitoring; best for early detection in large or inaccessible areas) |
Where and How to Place Pest Monitors Effectively
Placement is the most overlooked part of DIY pest monitoring. Even the best trap is useless if you put it in the wrong place or forget about it. Here’s what our experience shows works best.
High-Risk Areas in the Home
Start with the places pests love most: kitchens (especially under sinks and behind appliances), bathrooms (near pipes), basements, and laundry or utility rooms. These spots offer food, water, and shelter - everything pests need.
Entry points are prime real estate for monitors. Think door thresholds, window sills, wall gaps, and especially spots where plumbing or electrical lines enter the house. Catching the first invaders here gives you a huge head start.
Don’t forget hidden pathways. Behind the fridge, under the dishwasher, or alongside basement joists are classic pest highways. Pests move along edges and corners, so always go flush against the wall.
Placement Strategies for Maximum Coverage
Use a grid or zone system to avoid blind spots. In larger homes, assign each floor or major room its own set of traps. For open-concept spaces, set monitors at opposite ends and along walls to catch wandering pests.
Avoid direct airflow from vents, fans, or open windows - this can dry out glue traps or blow away bait scents, reducing effectiveness. If you have pets or kids, place traps where they can’t reach, like behind appliances or inside locked cabinets.
Rotate or move monitors every 2-4 weeks. Pests are mobile and seasonal - what’s quiet now might become a hotspot after rain or temperature changes. Changing up locations improves coverage and keeps you ahead of shifting patterns.
Step-by-Step Guide: Setting Up Pest Monitors
You don’t need fancy tools or pro skills to get started. Here’s exactly how to set up pest monitors for early detection that actually works.
Gathering the Right Supplies
- Pick your monitor based on target pest: sticky traps for insects, bait stations for ants/roaches, electronic monitors for rodents.
- Wear disposable gloves to avoid leaving human scent - some pests avoid freshly handled traps.
- Prepare a notebook or digital log for tracking where you place each monitor and what you find.
Preparation and Safety Precautions
- Clean placement spots so food crumbs, grease, or clutter don’t interfere with trap effectiveness.
- Keep all monitors - especially baits - out of reach of pets and kids.
- Label each trap with the date placed and type of monitor to track how long it’s been deployed.
Step-by-Step Guide
Learn how to use pest monitors for early detection in your home or garden. This beginner-friendly guide covers correct placement, setup, and monitoring best practices to help you catch infestations early and take effective action.
Total Time
30 minutes
Difficulty
Beginner
Choose the Right Pest Monitors
Select pest monitors based on the type of pests you want to track - such as glue traps for crawling insects or pheromone traps for moths. Matching the monitor to the pest ensures accurate detection and reduces false positives.
Pro Tips:
- Read product labels to confirm target pest species.
- Glue traps work well for ants, cockroaches, and spiders.
- Pheromone traps are effective for pantry moths and beetles.
Important Warnings:
- Using the wrong type of monitor may miss the target pest or attract non-target species.
Required Tools:
- Pest-specific monitors (e.g., glue boards, pheromone traps)
- Protective gloves
Identify Key Monitoring Locations
Pinpoint areas where pests are likely to travel, such as behind appliances, under sinks, or along baseboards. Placing monitors in high-risk zones increases the chances of early detection and helps map pest activity.
Pro Tips:
- Check for crumbs, moisture, or entry points to target likely spots.
- Use a flashlight to inspect dark or hidden areas.
- Place monitors near known trouble spots like pantries or pet feeding areas.
Important Warnings:
- Avoid placing monitors in areas accessible to pets or small children.
Required Tools:
- Flashlight
- Measuring tape
Install Pest Monitors Properly
Set up monitors flat against walls or in corners, following package instructions for distance from floor (typically within 1/4 inch). Correct placement improves catch rates and provides more reliable data for early intervention.
Pro Tips:
- Use double-sided tape for vertical placement if needed.
- Leave monitors undisturbed for at least 48 hours before checking.
- Place at least 2-3 monitors per room for best coverage.
Important Warnings:
- Do not block monitors with furniture—this reduces their effectiveness.
- Avoid placing monitors in damp locations unless rated as moisture-resistant.
Required Tools:
- Monitors selected in Step 1
- Double-sided tape (if needed)
- Disposable gloves
Check and Record Monitor Results
Inspect monitors every 3-7 days for pest activity. Use a notebook or digital log to track catches by date and location. Consistent monitoring helps spot trends early and guides targeted pest control action.
Pro Tips:
- Photograph traps before disposal for easy record-keeping.
- Label each monitor with the date it was set.
- Look for patterns—multiple catches in one area may indicate a nest nearby.
Important Warnings:
- Always wear gloves when handling used monitors to avoid contact with pests or allergens.
Required Tools:
- Notebook or pest monitoring app
- Camera or smartphone
- Disposable gloves
Replace and Adjust Monitors as Needed
Swap out full or old monitors every 2-4 weeks, or sooner if heavily soiled. Adjust placement based on catch results - move monitors to new hotspots for ongoing coverage and improved detection.
Pro Tips:
- Dispose of used monitors in sealed plastic bags.
- Reevaluate monitor types if you consistently catch non-target pests.
- Regularly cleaning surrounding areas can reduce future catches.
Important Warnings:
- Never reuse disposable pest monitors—this can spread infestations.
- If activity persists or worsens, consult a licensed pest control professional.
Required Tools:
- Replacement monitors
- Sealable plastic bags
- Protective gloves
Placing and Documenting Monitors
- Install traps flush along walls, in corners, or behind appliances - pests rarely travel in open spaces.
- Record the exact location and trap type in your log for consistent inspection and data tracking.
- Mark each spot on a printed floor plan, phone photo, or checklist so nothing gets missed later.
How to Check and Interpret Pest Monitors
Setting up monitors is only half the work. Interpreting what you find - and acting on it - is where DIYers either win or waste their effort.
Inspection Frequency and Best Practices
Check most monitors weekly. In high-risk areas or after spotting recent activity, check every 2-3 days until things quiet down. Always wear gloves, and use a flashlight for dark corners and under appliances.
Replace glue traps as soon as they’re dusty, covered in debris, or full. Old traps lose stickiness and stop catching anything. Bait stations need refreshing when empty or per the label’s recommended interval.
Identifying Signs of Pest Activity
Each pest leaves its own calling card. Roaches look like flat, oval bugs; ants are segmented with clear antennae; spiders have long legs and compact bodies. Rodent droppings, chew marks, or gnawed bait are obvious rodent signs.
Keep a running tally of captures. One ant or roach isn’t a crisis, but repeated catches in the same spot mean you have an active nest or trail nearby. Spike in captures week over week?
Time to escalate your control efforts.
What to Do When Activity Is Detected
If you see recurring catches, don’t just reset the trap - treat the source. Use targeted baits, seal entry points, and boost cleaning in affected areas. For termites or bed bugs, consult a licensed pro - these require regulated treatments.
Keep monitoring after any treatment. If captures drop to zero and stay there for 2-3 weeks, you’ve likely solved the problem. If not, it’s time for stronger measures or a professional assessment.
Common Mistakes with Pest Monitoring
You’d be surprised how often people sabotage their own efforts with a few classic errors. Here’s what to watch out for.
Ignoring Monitors After Setup
The biggest mistake is setting and forgetting your traps. Pest monitors only work if you check them regularly. Skipping inspections means missing the window to act before things get out of hand.
Set calendar reminders, or use smart monitors with push alerts if you’re forgetful. Consistency is what gives you the early detection advantage.
Improper Monitor Selection
Using the wrong monitor for the pest is a waste of time. Glue boards rarely stop rodents; snap traps won’t catch ants. Bed bugs and termites need specialty monitors - don’t expect general-purpose traps to work for everything.
Always match the monitor to your target pest. If you’re not sure, identify what you’re seeing (or catching) and research the best trap for that species. Generic traps are better than nothing, but they miss tricky or elusive pests.
Poor Documentation and Data Tracking
If you can’t remember which trap caught what, you’re flying blind. Good records help you spot trends, know if your interventions are working, and avoid duplicate efforts.
Use a simple logbook, printed map, or smartphone app to mark trap locations, dates, and findings. Inconsistent tracking leads to missed hotspots and wasted effort.
Expert Tips for Maximizing Monitor Effectiveness
DIY success comes down to small details that make a big difference over months and years. Here’s what works best in real homes.
Seasonal Adjustments and Timing
Monitor more aggressively in spring and fall - these are peak times for ants, roaches, and rodents moving indoors. After heavy rain or construction, add extra traps near new entry points.
If you renovate or rearrange rooms, review your trap grid and adjust as needed. Pests find new paths when you change the layout, so your coverage should change too.
Integrating Monitors with Other Pest Control Methods
Monitors are just one weapon. Combine them with exclusion (sealing cracks and gaps), regular cleaning, and targeted baits or sprays when needed. The goal is to verify success, not spray blindly.
Don’t overuse pesticides just because you’re anxious. Monitors tell you when a problem is solved - if they stay empty for several weeks, you can skip the next round of chemicals and enjoy peace of mind.
Frequently Asked Questions About Pest Monitors
❓ Frequently Asked Questions
What is a pest monitor and how does it work?
What is a pest monitor and how does it work?
A pest monitor is a detection device used to identify early signs of pest activity in homes or businesses. It helps catch infestations before they spread, minimizing damage and treatment costs. Common examples include sticky traps for insects and snap traps for rodents, which visibly indicate pest presence.
How do I use pest monitors for early detection at home?
How do I use pest monitors for early detection at home?
To use pest monitors for early detection at home:
- Place monitors in areas where pests are likely to travel, such as along walls or near food sources
- Check traps weekly for signs of activity
- Record findings to spot trends
- Replace or clean monitors as needed
Consistent monitoring helps identify issues before they escalate.
What types of pest monitors are best for common household pests?
What types of pest monitors are best for common household pests?
For common household pests, consider these options:
- Sticky traps: effective for ants, cockroaches, and spiders
- Snap traps: best for mice and rats
- Pheromone traps: target specific insects like moths
- Electronic monitors: provide digital alerts for rodents
Choose based on the pest type and area you need to monitor for best results.
Where should I place pest monitors for maximum effectiveness?
Where should I place pest monitors for maximum effectiveness?
For maximum effectiveness, place pest monitors in:
- Dark corners and along baseboards
- Near food sources like pantries or kitchens
- Entry points such as doors, windows, and pipes
- Areas with previous pest activity
Careful placement increases detection rates and provides more accurate data on pest movement.
How often should I check and replace pest monitors?
How often should I check and replace pest monitors?
Most users find checking pest monitors weekly is effective for early detection. Replace sticky or pheromone traps every 30–60 days, or sooner if full. Snap traps should be reset after each catch. Frequent checks prevent missed infestations and ensure the monitors remain attractive to pests.
What should I look for when choosing pest monitors?
What should I look for when choosing pest monitors?
When choosing pest monitors, consider:
- Pest type: select traps designed for your target species
- Sensitivity: higher sensitivity increases detection
- Safety: non-toxic options are better for homes with pets or children
- Ease of inspection: clear or open designs make checking easier
Review user feedback and choose products suited to your specific needs.
What are the limitations of DIY pest monitoring?
What are the limitations of DIY pest monitoring?
DIY pest monitoring is useful for early detection but may miss hidden infestations or less active pests. Traps must be checked regularly and placed correctly for accurate results. Severe infestations, or pests like termites, often require professional inspection due to their elusive nature and potential property damage.
Key Takeaways for DIY Pest Monitoring
Early pest detection depends on three things: choosing the right monitor, placing it strategically, and checking consistently. Most pest issues can be handled DIY if you catch them before they escalate. But when monitors start filling fast, or you spot regulated pests like termites, it’s time for professional intervention.
Don’t underestimate the value of proper documentation and regular inspections - these small habits save you serious money and headaches long-term. If you’re unsure or overwhelmed, start small with sticky traps and scale up as needed.
Act promptly when you see repeated activity, and always keep safety in mind with baits and traps. DIY monitoring is about control - keep the upper hand and your home pest-free.
Related Articles
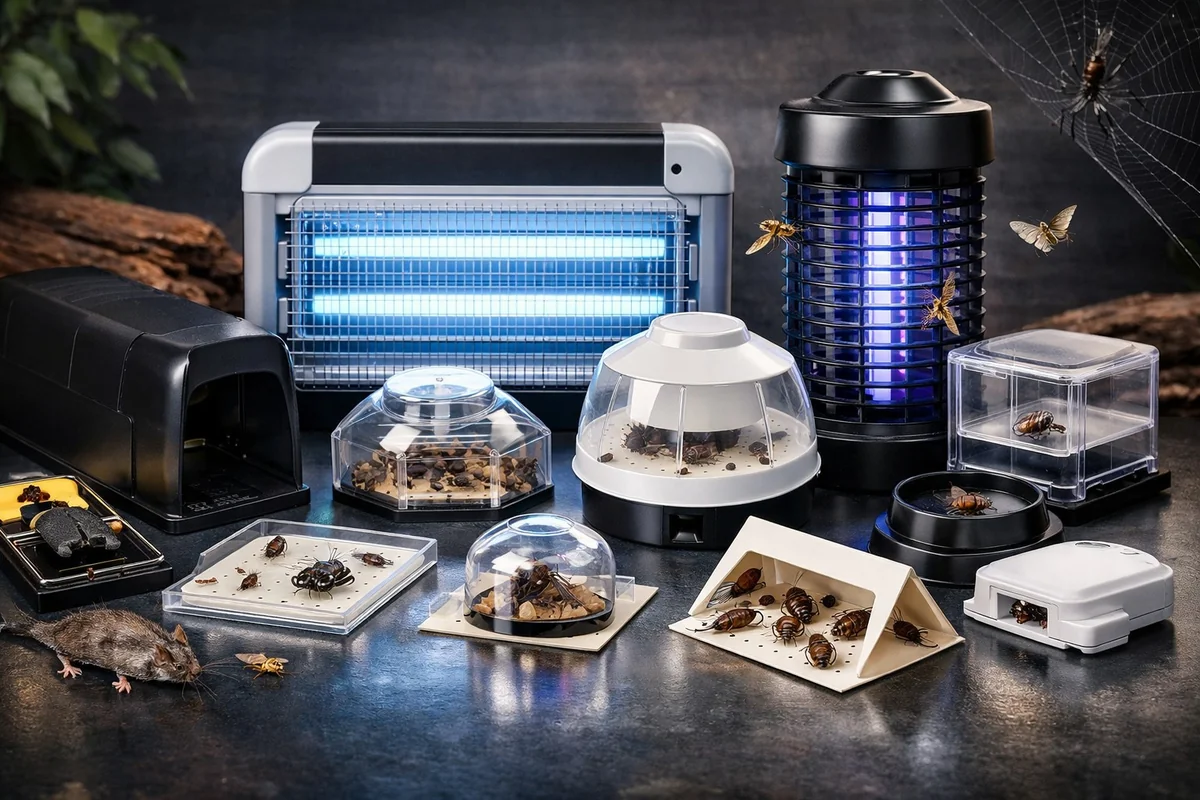
Best Pest Traps and Monitors 2026: Top Reviews for Every Pest Problem
Discover the best pest traps and monitors for 2026. In-depth reviews and expert buying advice for ants, roaches, rodents, bed bugs, flies, and more. Find safe, effective, and budget-friendly solutions for your home.
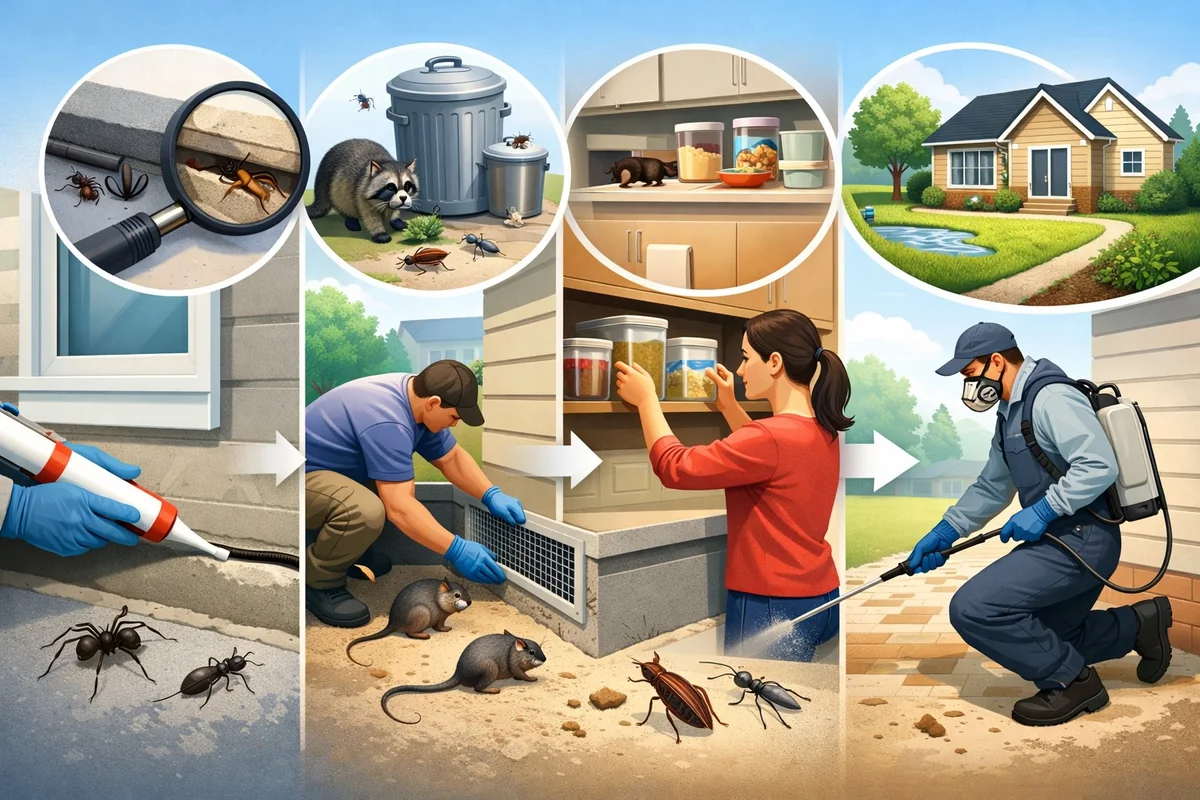
Complete Guide to Pest Prevention in Homes: Stop Pests in 2026
Protect your home in 2026 with this complete pest prevention guide. Discover proven DIY methods, room-by-room tips, safe solutions for families, and expert advice to stop pests before they start.
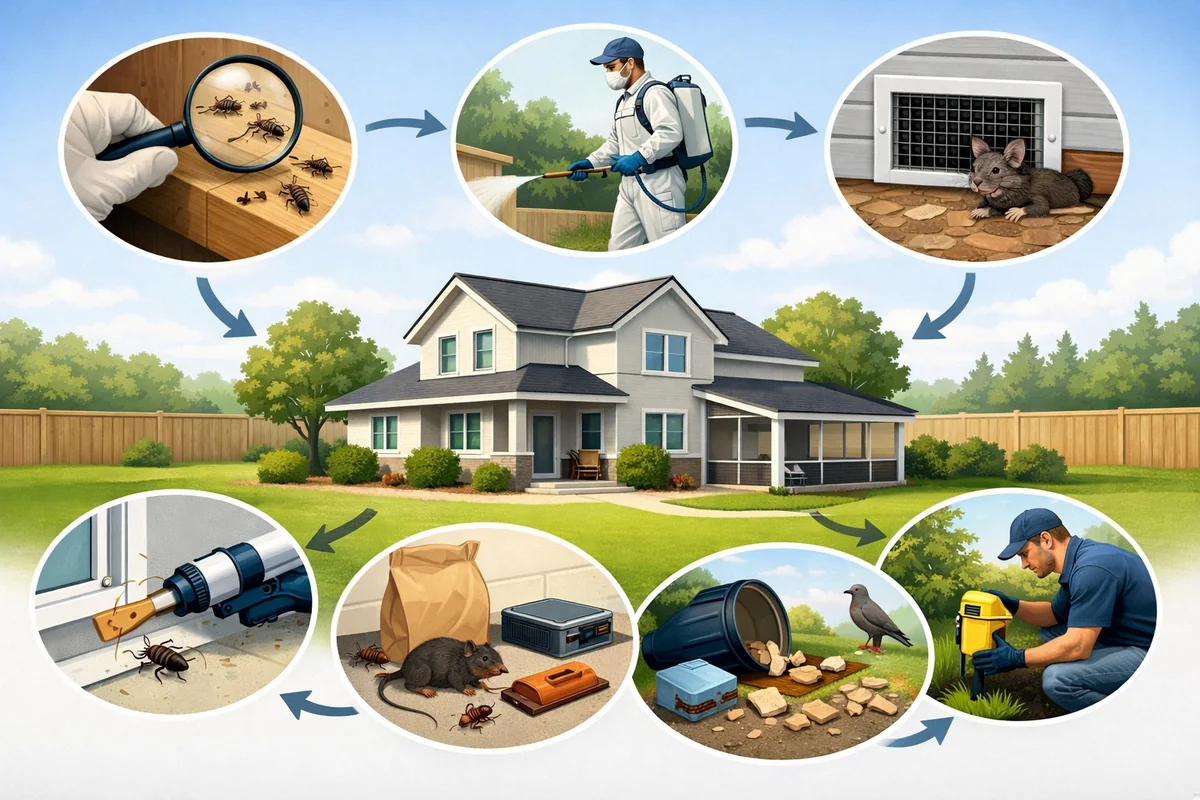
Complete Guide to Pest Control Maintenance: Upkeep Tips & Ongoing Management 2026
Learn how to keep your home pest-free with our complete pest control maintenance guide. Discover expert pest upkeep tips, safe DIY solutions, and step-by-step ongoing pest management strategies for 2026.
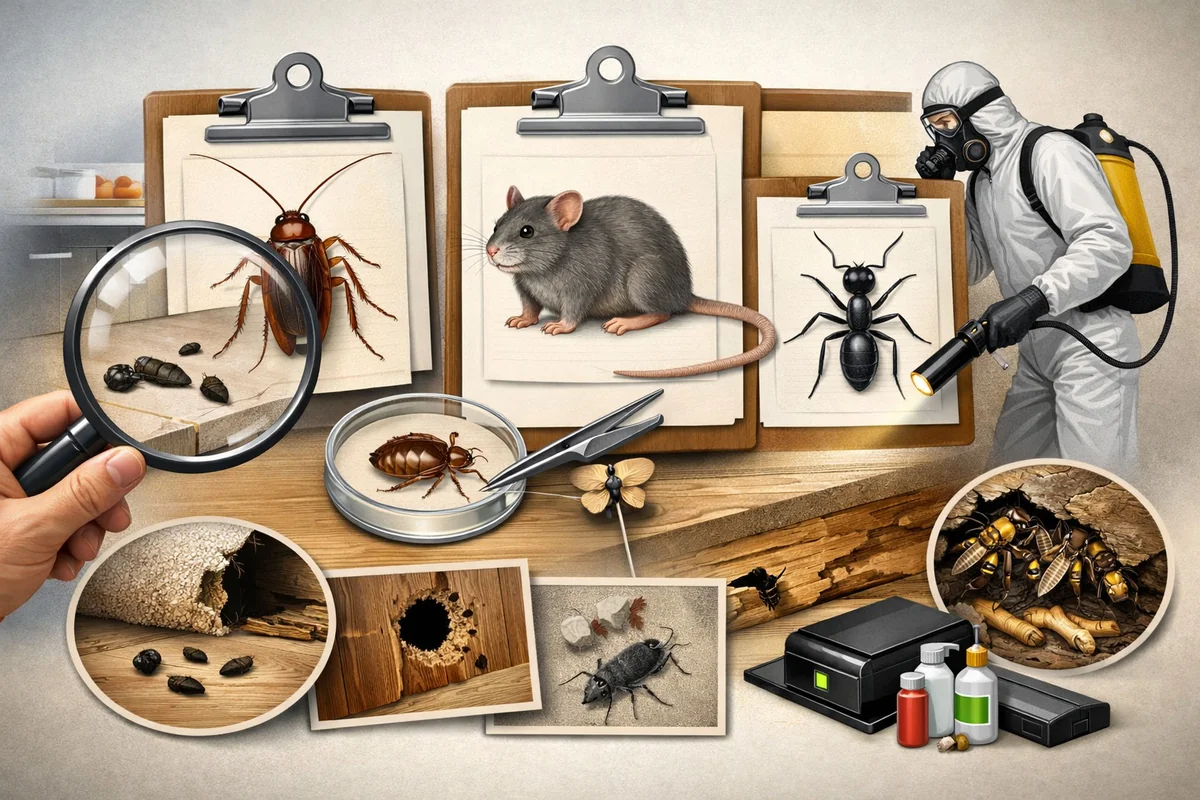
Guide to Identifying Household Pests: Spot, Compare, and Act on Common Pest Signs in 2026
Learn how to identify household pests quickly and accurately with our 2026 step-by-step pest identification guide. Spot common pest signs, compare DIY and professional methods, and take control of your home without costly exterminators.